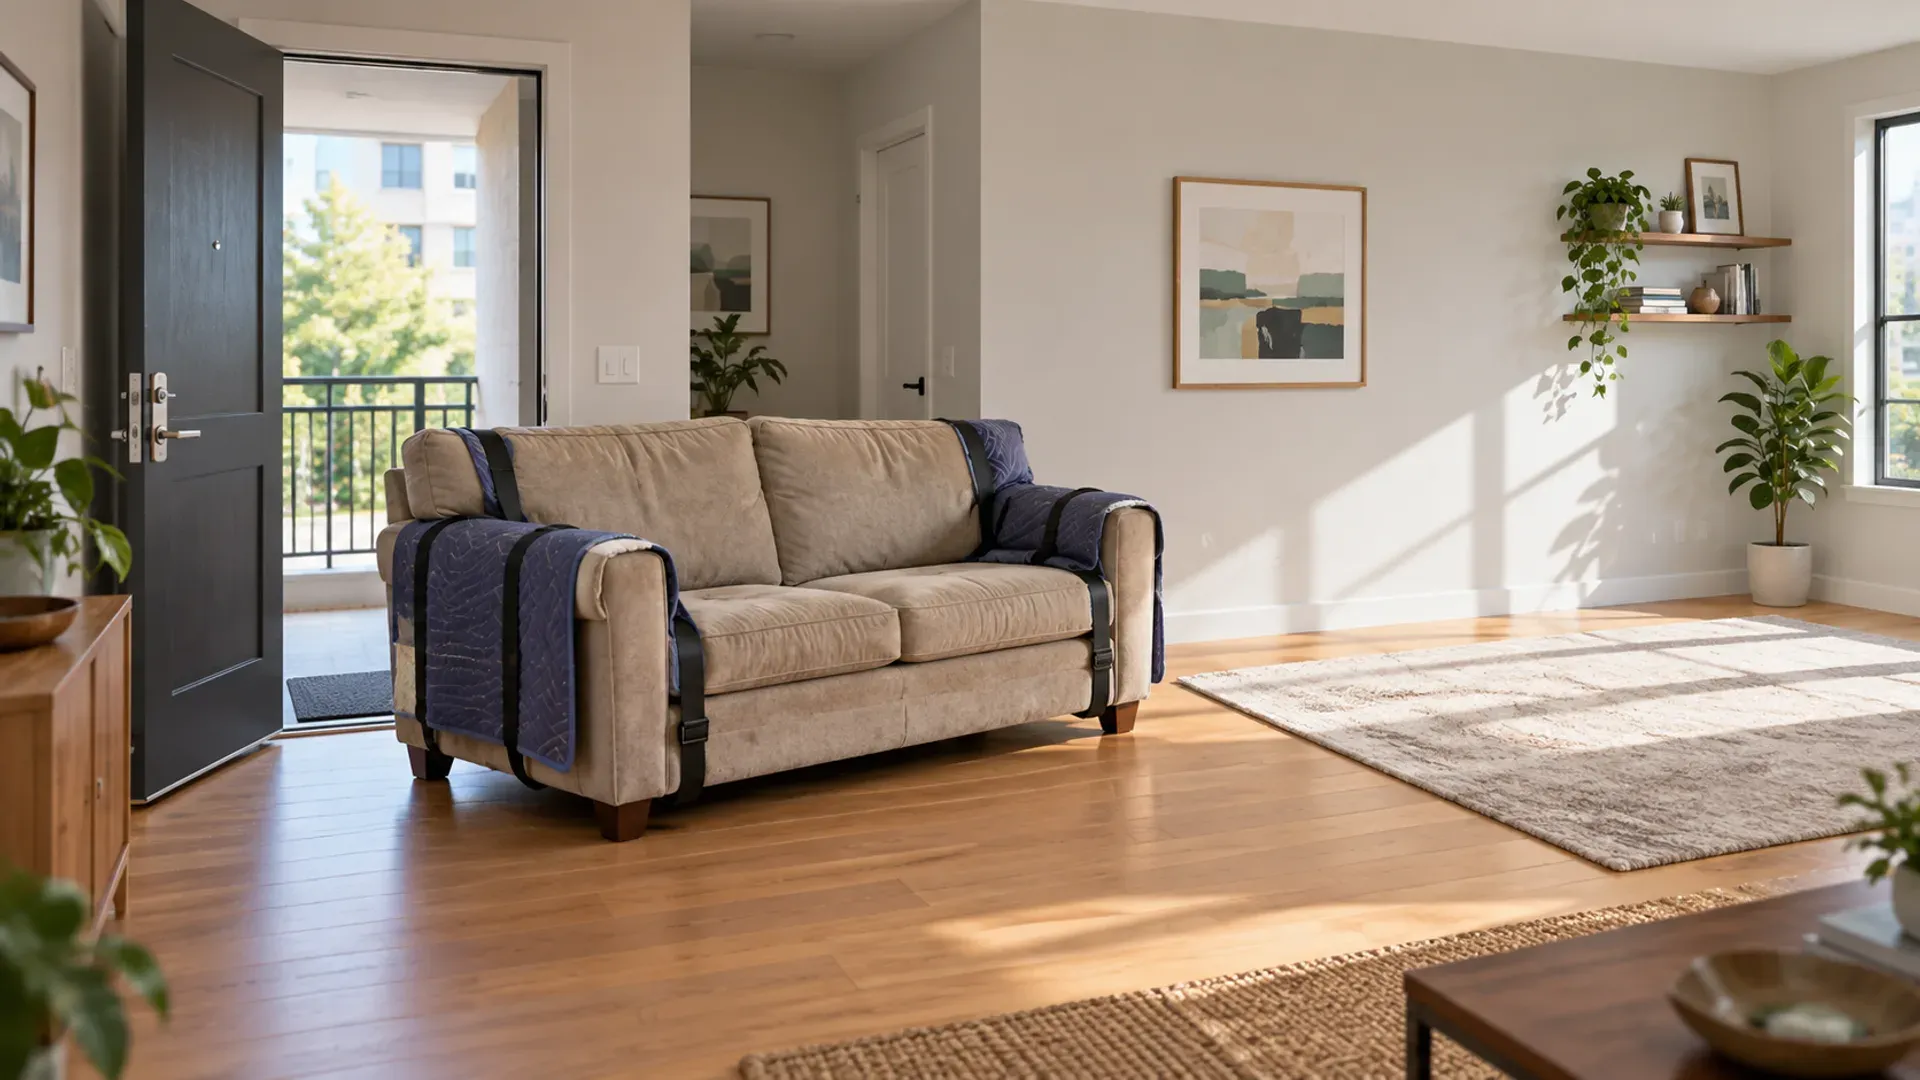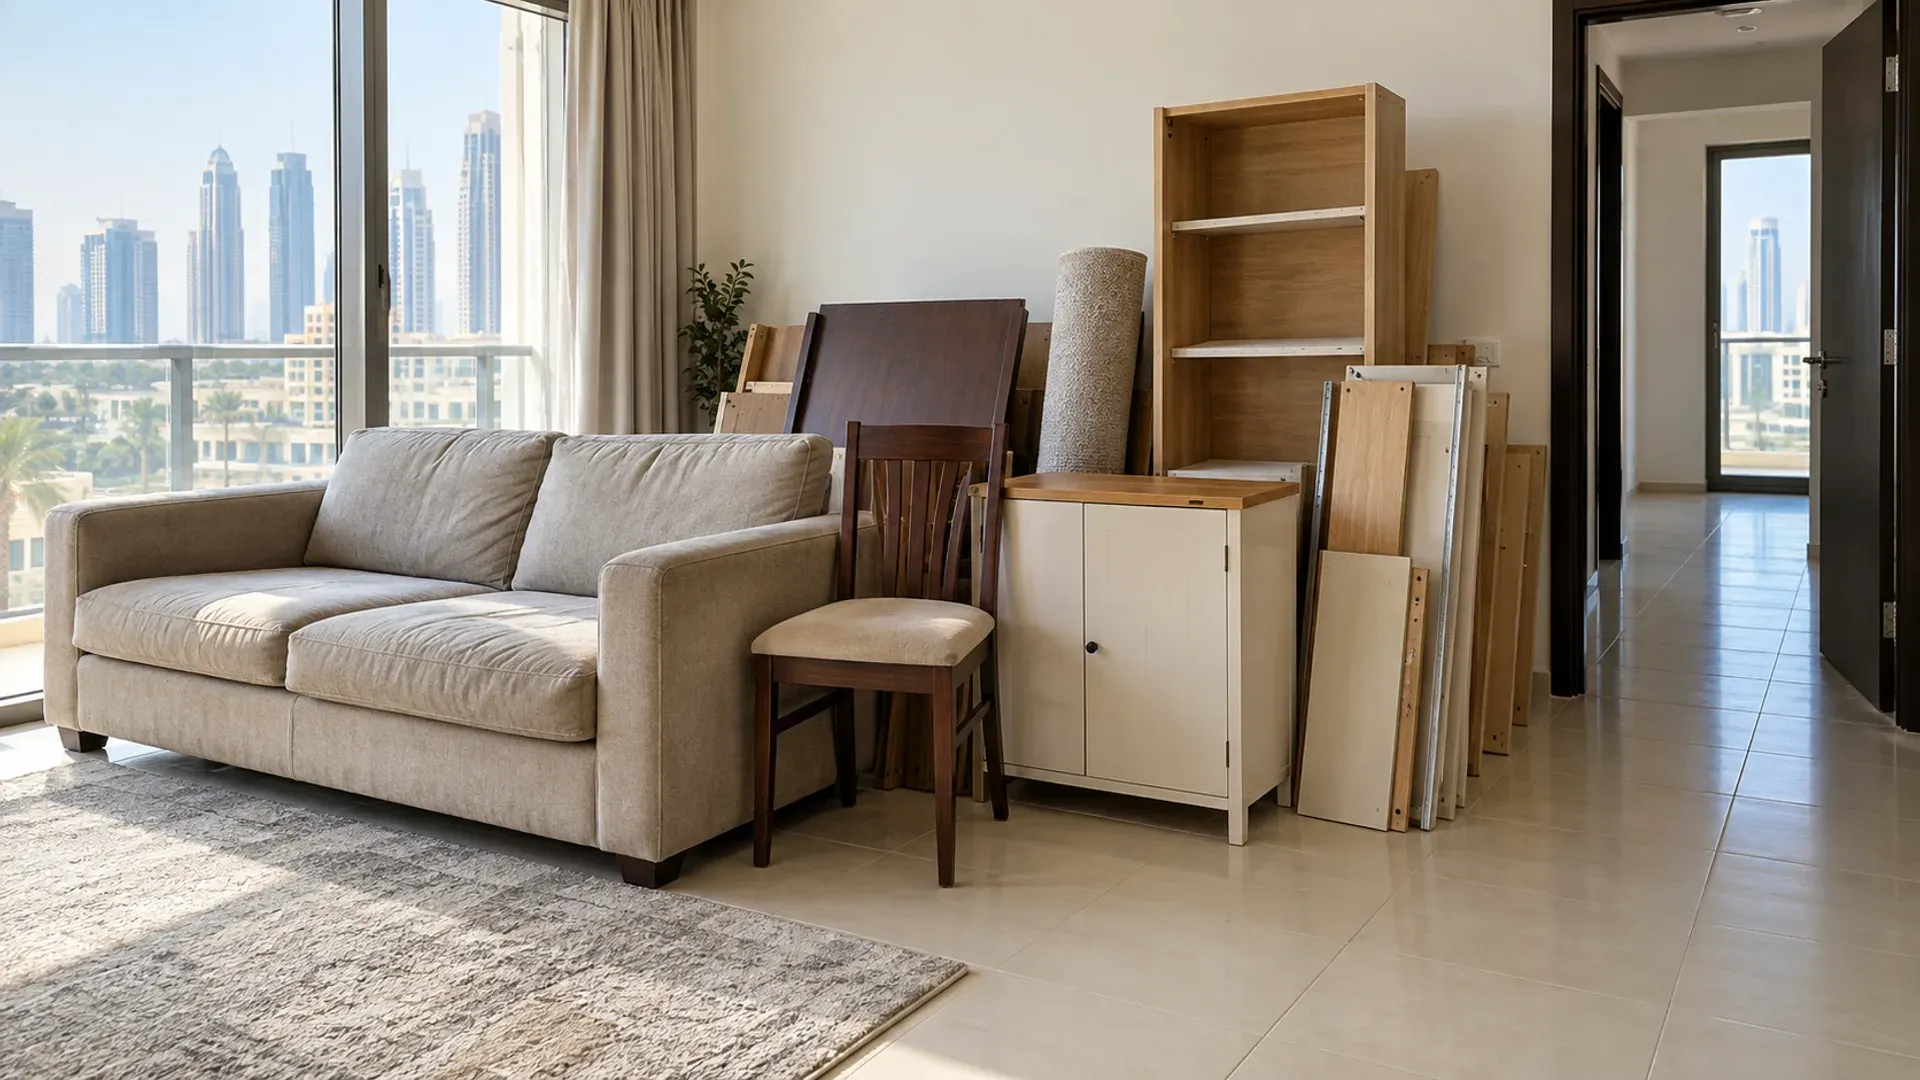
A glass display cabinet should be emptied before it is moved, with every loose shelf removed and every glazed door secured. Photograph the cabinet closed and open, identify which panels are glass, and measure the rigid frame against the complete route. Do not test its strength by carrying it while the shelves are still inside.
A tall cabinet can look like one wooden item in a room photograph even though most of the weight and risk sit in removable glass parts.
Confirm that the cabinet is yours to remove
Start with ownership. A cabinet supplied with a furnished flat, fixed into a shop display, or listed on a landlord inventory is not automatically yours to discard. Check the inventory or written instruction before emptying it for removal. Keys, access to the room and a moving deadline do not replace permission.
Describe where it stands and what it is used for. A freestanding home display cabinet, a wall-mounted vitrine, a fitted shop showcase and a media-wall unit are different objects. This guide covers a freestanding cabinet that can be released as furniture. It does not authorise cutting a cabinet away from joinery, a wall, a counter or electrical wiring.
Look around the base and top for brackets. A small anti-tip strap can make an otherwise loose cabinet look fixed. Photograph it, but do not pull the cabinet forward to prove what is behind it. If a fixing belongs to the building or you cannot see how it releases, leave it for the person responsible for the property or for a confirmed dismantling plan.
Write down what stays before the cabinet is emptied. Crockery, ornaments, awards, glassware, documents, stock and electronics are contents, not part of the furniture pickup. Put them in a clearly marked keep area. If another person owns the contents, do not decide they are waste because the cabinet is leaving.
If the cabinet has built-in lighting, find the plug without tugging the cable. Unplug a normal accessible plug only when it is safe to do so. A cable disappearing into a wall, floor or fitted joinery is a stop point. Do not cut it. Send a photograph and arrange the appropriate release separately.
Identify every glass part
Open the cabinet only if it is stable. Count the shelves, doors, side panels, top panels and mirrors. Say which parts are loose, which sit on clips and which appear bonded into the frame. “Glass cabinet” is not enough: one cabinet may have two removable shelves and wooden doors, while another has four glazed doors, mirrored backing and a glass top.
Check each shelf edge for chips. Run your eyes along the edge rather than a bare hand across it. Photograph a chip, crack or missing corner close up and then photograph where that shelf sits in the cabinet. Damage changes the handling plan even when the shelf has supported ornaments for years.
Tempered glass can still fail when an edge is damaged or a panel is twisted. This article cannot identify the glass type from a photograph, so do not label it tempered, laminated or ordinary unless the maker's mark or product information says so. Describe what you can see: thickness, dimensions, exposed edges and existing damage.
Mirrored backing is not a removable shelf. If the mirror appears bonded to a thin back panel, leave it in place and disclose it. If it rattles, bows or has a crack, stop moving the cabinet and show that condition. Do not tape across a crack and assume the frame is safe to carry.
Glazed doors need their own count. Note whether they slide, lift off a track or swing on hinges. Do not remove a door merely because a hinge screw is visible. A heavy door can drop when the last hinge releases, and an unbalanced tall cabinet can tip forward when both doors are open.
Empty it completely
Remove the contents from the top shelf down while the cabinet remains in its normal position. Keep both feet on the floor; use a suitable step platform rather than pulling on the cabinet. Close each door between trips so an open panel is not projecting into the room.
Check drawers, the space beneath a false base and the top of the cabinet. Small keys, shelf clips, remote controls and documents are easily missed. Put loose cabinet hardware in a labelled bag only after the part it belongs to has been identified. Do not mix it into a box of household items.
Pack retained contents for their destination, not for the removal crew. Crockery and ornaments may need wrapping and labelled cartons. That packing is separate from collecting the cabinet. Do not leave a carton of valuables inside the base because it seems protected there; it adds unknown weight and can shift while the frame is carried.
If the cabinet contains shop stock, create a stock record before anything is moved. A furniture collection is not authority to destroy products, samples or customer property. Keep approved outgoing furniture physically separate from merchandise and from any cabinet that remains in service.
After emptying, photograph the inside. The frame, shelf supports and lighting cable should be visible. That image confirms that the load no longer includes unknown contents and helps show how the shelves are supported.
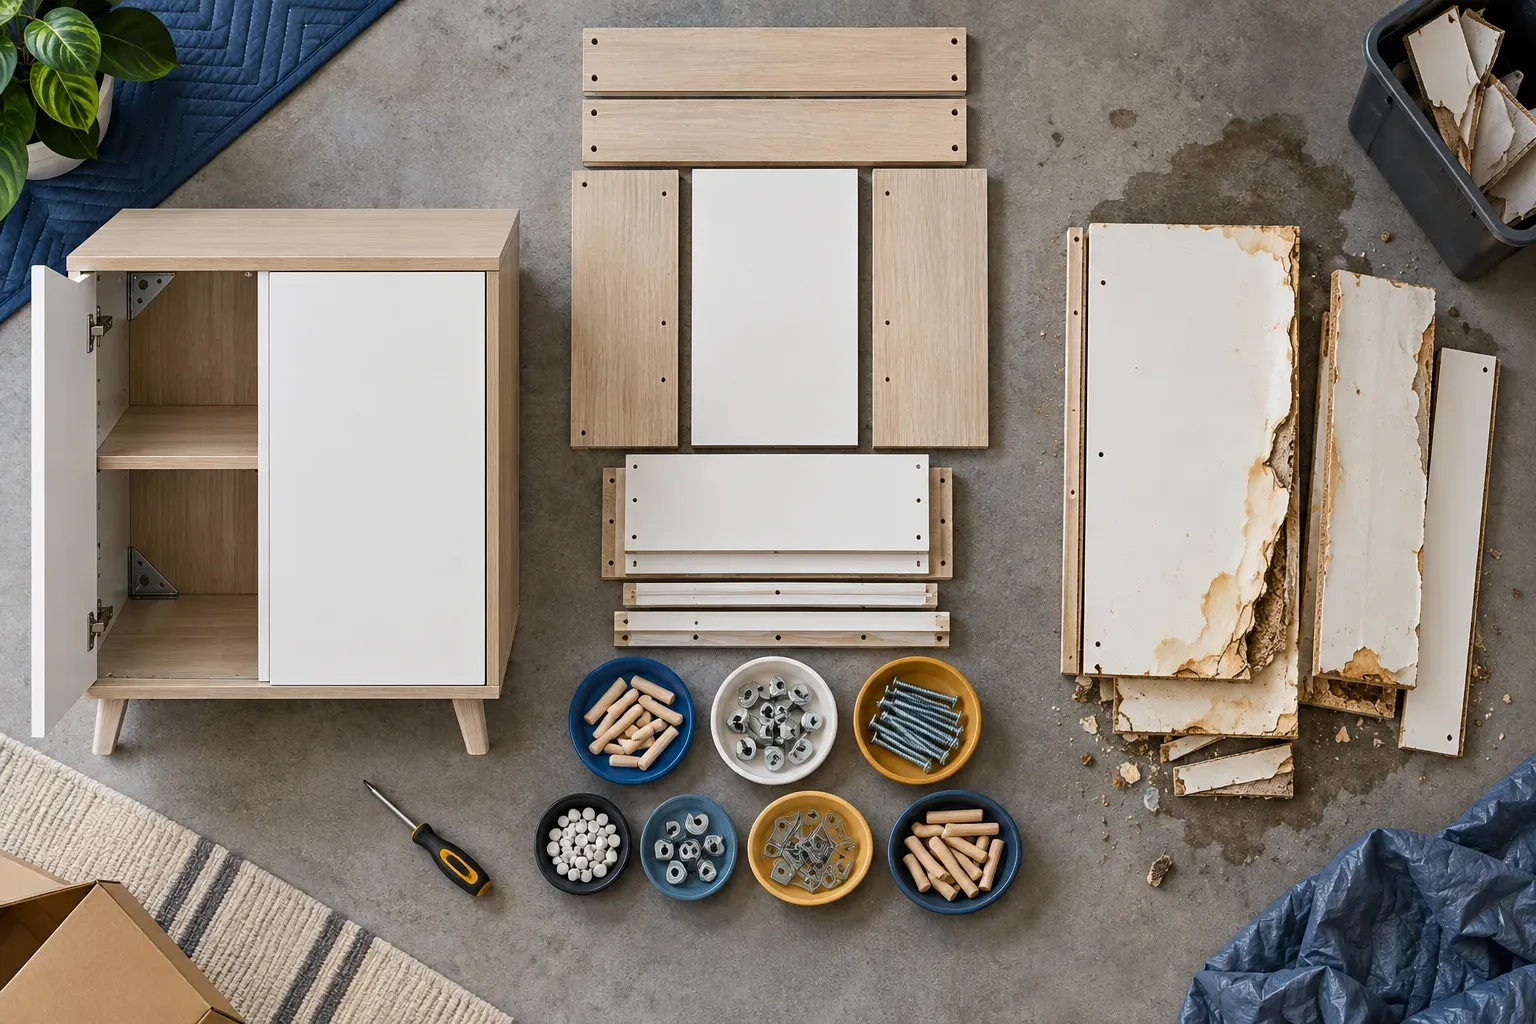
Take the shelves out first
Loose glass shelves should come out before the cabinet travels. Support a shelf with both hands, lift only enough to clear its supports and keep it level. If it will not lift without force, stop. A shelf may be held by clips, a locking strip or dried pads that are not obvious from the front.
Prepare a flat, padded place in the same room before lifting the first shelf. Keep each panel upright only if it can be secured against falling and the handler has agreed that method; otherwise follow the collection plan you were given. Never lean loose glass in a doorway, against a radiator, beside a balcony rail or where a child or pet can reach it.
Label the shelves in order if the cabinet may be reused. Shelf clips go in a bag tied to the cabinet or handed to the recipient. If the cabinet is waste, the count still matters because the collector needs to know how many separate glass panels require handling.
Do not stack bare shelves directly on one another. Their edges can chip and a small grain trapped between panels can concentrate pressure. Use the protective materials and method agreed with the handler. Household towels may hide damage and slip; they are not automatically suitable professional packing.
Leave bonded glass, fixed side panels and mirrors in their frame. Trying to turn every glazed section into a loose panel can create more risk than carrying the disclosed frame. The useful distinction is not “glass out at any cost.” It is loose shelves out, fixed glazing identified, and no surprise panels.
If you are not confident removing a shelf, leave the cabinet untouched and say so. Send a close photograph of the support. A confirmed crew can decide how it should be released. Preparation should reduce uncertainty, not transfer a fragile panel into an unsafe pile on the floor.
Secure doors without hiding damage
Close the doors and test only their normal latch. Do not add screws through the frame or drive wedges into a track. If a door does not stay closed, say that in the request. The handler may use protective wrap or remove the door under a controlled plan.
Do not use adhesive tape directly on finished wood, veneer, painted metal, a mirror coating or fragile decorative film. It can lift a finish and it may conceal a crack. Photograph damage before any protection is applied, and keep the photograph with the item description.
Remove a key from a projecting lock and place it in the labelled hardware bag. A key left in the door can snap or scratch another surface. If the lock is jammed, do not force it. The cabinet can be described as locked only after you have confirmed no contents remain inside; otherwise it is not ready for collection.
Some cabinets have drawers or a lower cupboard beneath the glazed section. Empty them and state whether they can slide out. A drawer opening on a stair turn changes the carry. Do not nail it shut. Secure it only by the method agreed for the collection.
Measure the rigid frame and the route
Measure the cabinet after removable shelves are out but before any unconfirmed dismantling. Record height, width and depth at the widest points, including handles, cornices and feet. If the top projects beyond the sides, that projection is part of the width.
Then measure the route: room door, corridor turns, apartment door, lift entrance and inside lift dimensions, or every stair landing if there is no lift. Photograph each tight turn from both directions. A cabinet that clears the first door can still fail at a low lift entrance or at a landing where it cannot rotate.
The largest rigid part owns the route. Removing four shelves reduces loose weight but does not make a one-piece hardwood frame narrower. Do not quote the shelf dimensions as if they are the cabinet dimensions.
If the cabinet has to tilt, compare its height and depth with the available diagonal space rather than guessing. Leave the final handling decision to the collector. A top-heavy, glazed frame is not an object to rehearse through the doorway alone.
Keep the route clear. Move rugs, small tables, plant pots and cartons that you are keeping. Protect pets and keep people out of the stair. Do not stage the cabinet in a shared corridor while waiting for the vehicle. Building access and a service-lift booking should be settled before the cabinet leaves its room.
Decide whether dismantling is designed or destructive
Look for maker joints, cam locks or bolts only to describe them. A cabinet built in upper and lower sections may separate at a designed joint. A glued display case may not. Do not start removing screws until the construction, destination and collection scope are confirmed.
The furniture-dismantling guide explains how to distinguish a designed breakdown from destructive work. Use it for the frame decision. This page keeps the glass-specific sequence: contents out, loose shelves out, fixed glazing disclosed, doors controlled and the rigid frame measured.
A cabinet intended for reuse needs labelled parts, protected finishes and an agreed recipient. A cabinet being discarded may allow a different method, but “it is waste” does not make uncontrolled breakage acceptable. Do not smash glass to make the cabinet smaller. Broken shards create a new load and a dangerous route.
If the cabinet is already broken, keep people away from it and photograph the whole frame before approaching loose pieces. Do not put shards in a thin rubbish bag or hide them in an unlabelled box. Tell the collector exactly what is broken and ask how the fragments must be contained before anyone handles them.
A dining-table top is a different glass problem
A removable glass dining-table top is normally one broad horizontal panel supported by a base. Its route, edge protection and base separation belong in the dining-table removal guide. A display cabinet has several smaller panels held within a tall frame, doors that can swing and a changed centre of gravity after shelves are removed.
Do not copy the table plan onto a cabinet. Lifting a table top may expose the complete base. Removing a cabinet shelf leaves fixed doors, mirrors and side glazing behind. Give the collector the cabinet's own panel count and frame dimensions.
A media wall is also separate. If the glazed unit is joined to wall panelling, a television surround or fixed shelves, it is not made freestanding by calling it a display cabinet. Photograph the complete installation and keep fixed joinery outside this pickup until its release is confirmed.
Book furniture collection for the cabinet
Once ownership is clear, the cabinet is empty and the glass parts are described, ask for furniture collection for the cabinet. Send the full item and route record. The service page owns the booking; this guide owns the preparation that prevents loose shelves and hidden glazing from appearing at the door.
Include:
- one photograph of the complete cabinet closed
- one photograph with the doors open and the interior empty
- the number and dimensions of loose glass shelves
- the number of glazed doors, mirrors and fixed glass panels
- close photographs of every chip, crack or loose hinge
- cabinet height, width and depth at the widest points
- whether lighting has a normal plug or an unresolved fixed connection
- every wall strap, bracket or unclear fixing
- the narrowest doorway, lift and stair-turn measurements
- the floor, building access window and loading point
- whether the cabinet is for disposal or confirmed reuse
Do not send only a close photograph of a crack. The collector also needs the whole frame and the route. Do not send only a room photograph either; glass shelves disappear against a mirrored back.
The bulky-item pickup guide is useful when several large objects share the collection. List this cabinet as one item with its separate glass count. Do not turn “one cabinet” into “one piece” if six shelves are travelling beside it.
On collection day
Keep the contents and loose shelves in their agreed zones. Point out the labelled hardware and every damaged edge before the frame moves. Show the crew which furniture stays so a second cabinet is not mistaken for part of the load.
Do not reopen doors or reinstall shelves to make the room look tidy. The prepared state should match the photographs used for the quote. If a shelf was found after the request, disclose it before loading.
Keep the path and lift available for the confirmed window. A cleaner, delivery or mover should not be using the same narrow route unless the building and both teams have coordinated it. Collection removes the named cabinet; it does not repair fixing holes, patch a wall or pack the ornaments that were inside.
After the frame leaves, check the floor for shelf clips, glass chips and keys. Keep people out until that check is complete. If a wall bracket remains, treat it as a property or maintenance item rather than pulling it out during the furniture pickup.
Questions
Should I remove glass shelves myself?
Remove only genuinely loose shelves when you can lift them safely and already have a protected place for them. If a shelf sticks, locks into clips or has a damaged edge, leave it and send a close photograph.
Can the cabinet travel with the shelves inside?
Loose shelves should not rattle inside a moving frame. Count and remove them first under a safe plan. Fixed glass panels stay identified in the cabinet unless a confirmed dismantling method says otherwise.
What if the cabinet is fixed to the wall?
Photograph the fixing and check ownership. An anti-tip strap may be simple to release, but fitted joinery or an electrical connection needs a separate confirmed boundary. Do not pull the cabinet free.
Can broken glass go in a cardboard box?
Do not improvise a container or hide shards in an unlabelled box. Tell the collector what broke and ask how the pieces must be contained and labelled before collection.
Is a shop display case covered by this guide?
Only when it is a released, freestanding furniture item. A case fixed to counters, lighting, flooring or shop joinery belongs to a commercial release and dismantling plan.
Empty the cabinet, count the glass and show the rigid frame against the route. That is the information needed to turn a fragile room object into a collection that can be assessed before anyone lifts it.