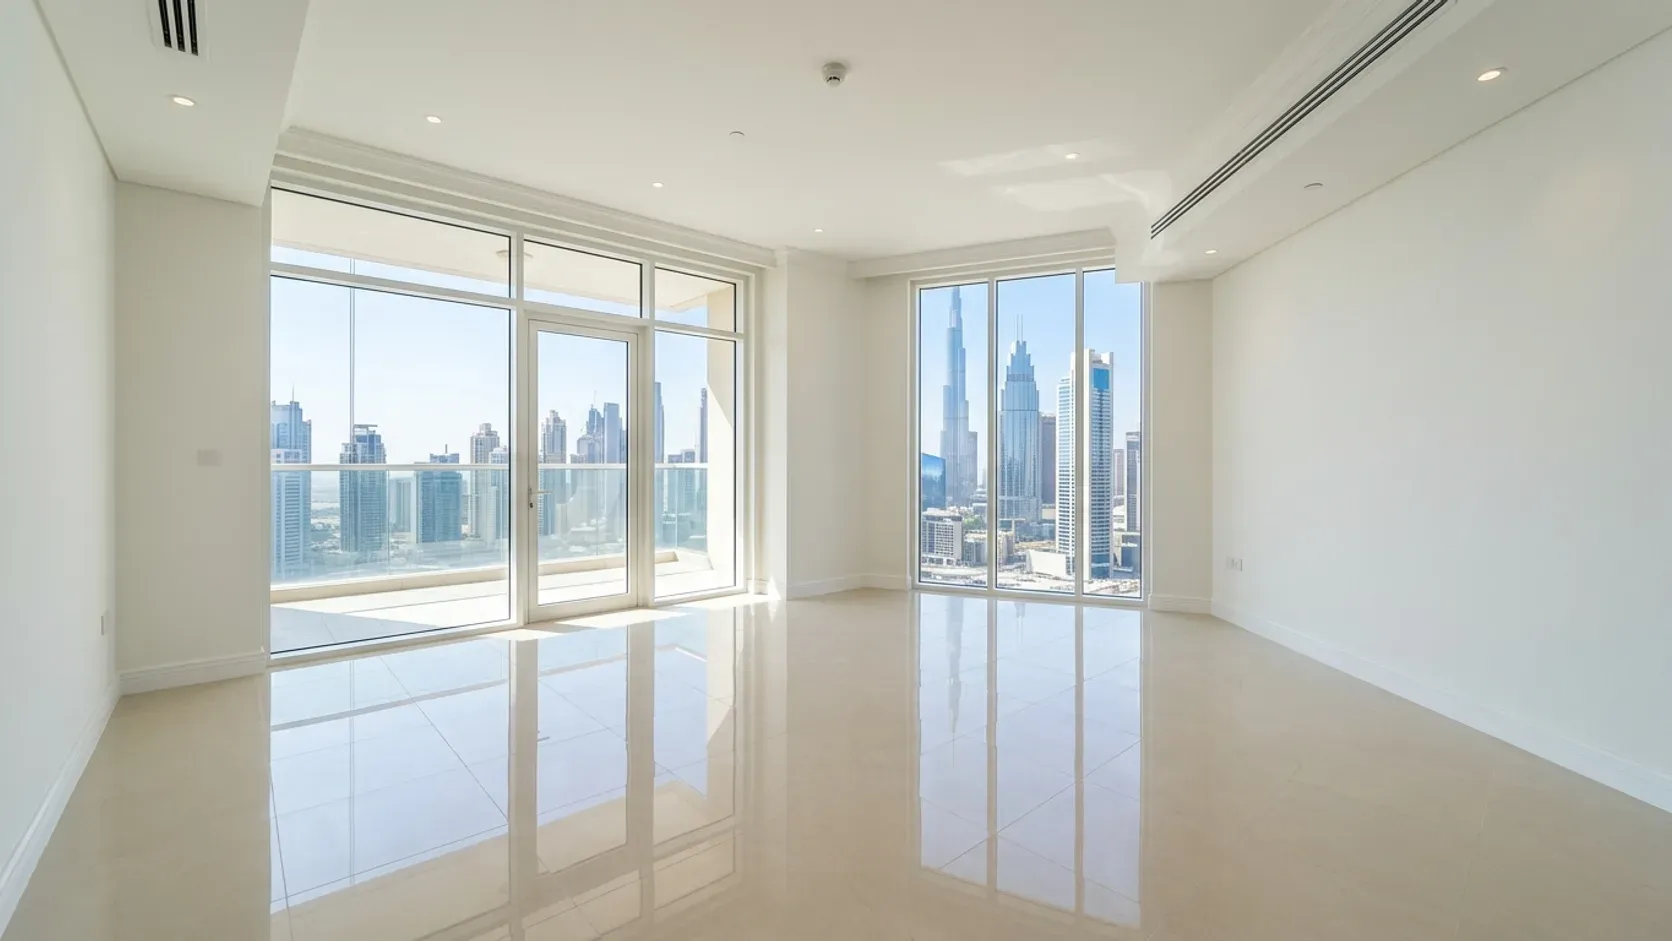
The quickest way to plan a bulky-item pickup is to describe the object and the route as one job. A clear request shows what the item is, its approximate dimensions, whether it comes apart, where it is inside the property and every restriction between it and the collection vehicle.
“One wardrobe” is not enough information. A freestanding two-door wardrobe beside a villa entrance is a different removal from a mirrored sliding wardrobe in a tower bedroom, even when both occupy similar floor space. The item affects handling; the route affects whether it can leave intact, needs controlled dismantling or requires a different collection plan.
Start with one photo of the whole item, one photo of any fragile or damaged area and one photo of the narrowest part of the route. Add the floor, lift and parking details in the same message. That small brief is more useful than a long description with no view of the access.
Define each bulky item separately
A mixed pickup becomes difficult to assess when several objects are described as “some furniture.” Give every large object its own line. Use ordinary names rather than trying to identify a model:
- three-seat sofa with removable feet;
- dining table with a glass top and six chairs;
- double bed frame with storage drawers;
- tall cabinet with two glass doors;
- washing machine still connected in the utility room.
Separate components that create their own handling problem. A bed frame and mattress are two items. A dining set may contain a heavy top, a base and several chairs. A sectional sofa may release into modules. A cabinet with a detachable stone surface should not be presented as one ordinary wooden unit.
This inventory does not need to be polished. It needs to be complete enough that nothing substantial appears only after the crew arrives. Check the balcony, store, utility area and behind doors before sending the final list. If a smaller object will travel with the bulky load, include it rather than assuming it will fit around the larger pieces.
State condition without minimising it
Damage changes how an object can be touched, tilted and carried. Mention broken glass, loose backs, protruding nails, swollen panels, unstable legs, sharp metal and any part that moves unexpectedly. Photograph the affected area from a safe distance; do not test an unstable item just to demonstrate the fault.
A damaged object may occupy the same space as an intact one but require a different approach. Loose pieces may need containing. A cracked glass panel may rule out normal handling. Water-damaged flat-pack furniture may stop behaving like a rigid cabinet when lifted. Honest condition notes protect the plan from a surprise at the first movement.
For a detailed damage checklist, use the broken-furniture disposal guide. The bulky-item brief only needs to identify the risk clearly enough for it to be assessed before collection.
Take photos that answer practical questions
Useful photographs establish scale, construction and access. Stand far enough back to show the full object. Keep the frame clear, use normal room lighting and avoid covering the item with bags or blankets until its shape has been recorded.
Take a second image from the side when depth is not obvious. Photograph labels only when they provide genuinely helpful dimensions or model information; keep names, addresses and personal documents out of the frame. For a modular item, photograph the joins. For furniture with doors or drawers, show whether they are secure. For an appliance, show the surrounding installation without reaching behind a connected unit.
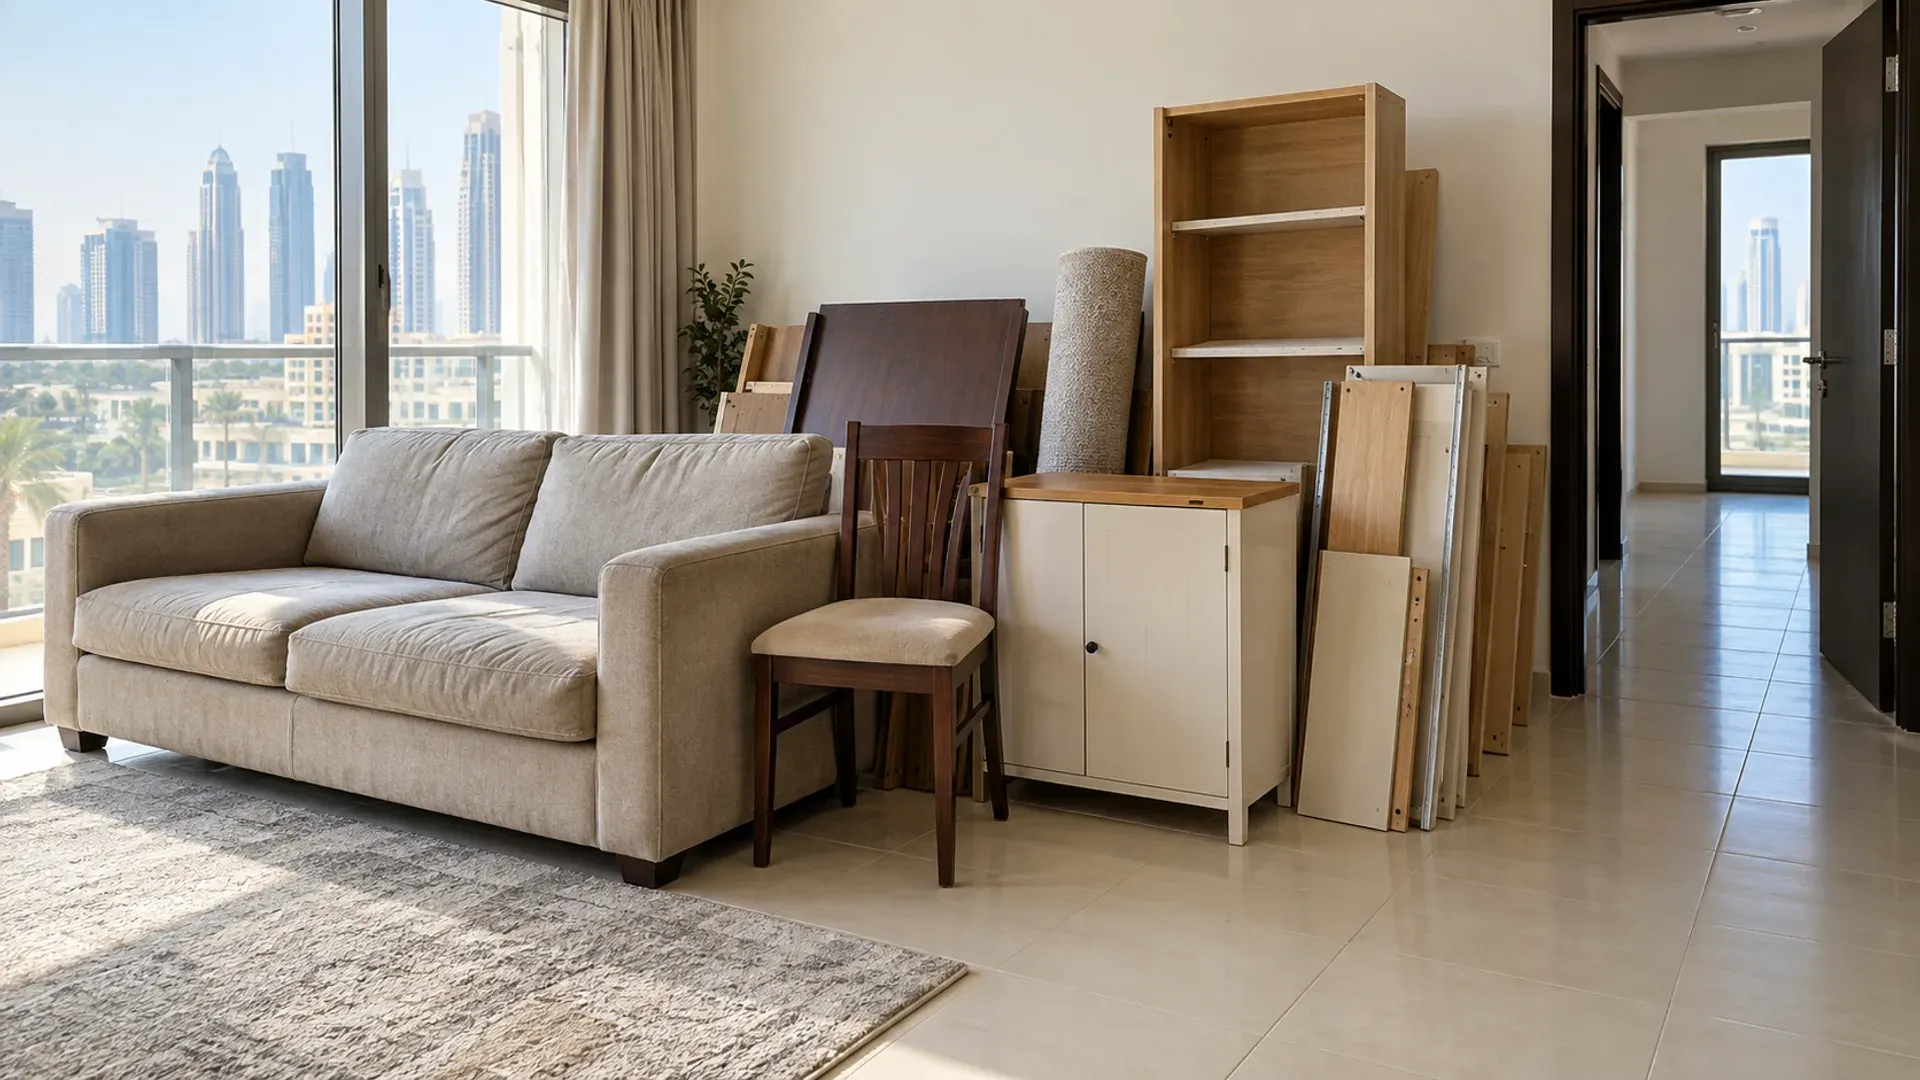
The route photographs matter just as much. A doorway image should show both sides of the opening. A corridor image should include the turn, not only its width. A lift image should show the opening and usable interior if building staff permit it. For stairs, show the flight, landing and direction of the next turn.
Avoid photographs that make distance impossible to judge. A close-up of one door frame or a dark image of a lift does not resolve access. Measurements remain better than visual guesses for tight routes.
A simple photo sequence
For each large item, send:
1. the complete item from the front; 2. the side or deepest profile; 3. any join, mechanism, glass or damaged area; 4. the room doorway and immediate turn; 5. the narrowest later restriction; 6. the lift, stairs or external exit; 7. the loading or parking approach where it is controlled.
One route sequence can cover several items leaving from the same room or floor. Say which objects use that route so the images do not become an unexplained gallery.
Measure the object that will actually move
Record height, width and depth at the widest points. Include handles, arms, feet, hinges and projecting trim. For a round table, note the diameter and base shape. For an L-shaped sofa, measure each released module rather than only the assembled footprint. For a dismantled bed, measure the longest rail and the largest headboard.
Do not assume every visible part is removable. Decorative caps, glued joints and hidden fixings can resemble designed connections. If the maker’s instructions are unavailable, describe what you can see and leave the dismantling decision open. The furniture-dismantling guide explains how construction and destination affect that choice.
Measurements should reflect the object in the condition proposed for collection. If a table top will be separated by the owner or an appropriate technician, quote the released components. If that work has not been confirmed, give the assembled dimensions as well. A plan based on hoped-for dismantling is not yet a workable plan.
Find the largest rigid component
The critical dimension is often not the complete object. It is the largest rigid part left after safe, intended separation. A wardrobe may release into panels; a sofa may divide into two modules; a bed may leave a wide headboard after its rails come off.
Identify that component before comparing the item with the route. Small bags and loose shelves do not prove that the largest part will clear the bedroom turn or lift opening.
Read the route from room to vehicle
Walk the complete path in the same direction the item will travel. Begin at the object, not at the front door. Check:
- clearance to rotate or tilt it inside the room;
- the room doorway, including the open door leaf and handles;
- corridor width and changes of direction;
- low ceilings, lights, sprinklers or projecting fittings;
- stair width, landings, rails and overhead clearance;
- lift-door opening and usable cabin dimensions;
- lobby doors, ramps and thresholds;
- the approved exit and loading point;
- distance from that point to the vehicle.
The narrowest measured opening is not automatically the only constraint. A component may fit through a doorway yet fail to rotate on the landing beyond it. A long rail may clear the lift width but not stand or angle within the cabin. Route planning is a sequence of shapes and turns, not a comparison of two single numbers.
The tower bulky-item guide covers service lifts and multi-stage building routes in greater detail. For a villa, the same principle applies across side passages, gates, steps and parked vehicles.
Clear temporary obstacles last, not first
Move shoes, boxes, small tables and decorative objects away from the path after the route has been agreed. Secure pets and keep children away from the moving area. Do not remove doors, rails, fixtures or building protection without permission from whoever controls them.
Temporary clearance cannot solve a structural restriction. If the route depends on altering a fitting or using an unapproved exit, pause and obtain the right decision before fixing the pickup window.
Confirm building and loading access
In a managed building, ask management or reception what is required for a bulky collection on the proposed date. Requirements vary, so confirm the current process rather than relying on an earlier move. The building may control the service lift, collection hours, protective padding, loading-bay access, contractor documents or vehicle entry.
Provide the approved window with the pickup request. “The lift is available” is weaker than a confirmed date and time. If an NOC or move permit applies, make clear who is obtaining it and when confirmation is expected. The service-lift booking guide gives a focused checklist.
For villas and gated communities, confirm the entrance, visitor or contractor registration process, vehicle restrictions and the route from the property to the permitted stopping point. Do not assume the nearest gate accepts service vehicles.
Parking also affects the job. State whether the vehicle can reach the loading point, whether a bay must be reserved and how far the carry is. A legal stopping place across a long basement or podium route is different from direct access at a villa gate.
Keep special items outside the ordinary furniture brief
Some large objects need decisions beyond ordinary carry-out. Declare them early rather than placing them under “bulky items.” Examples include connected appliances, air-conditioning equipment, very dense stone, safes, large mirrors, aquariums, exercise machines and anything fixed to the property. For a household running machine, the treadmill removal guide covers model identification, folding parts, loose accessories and the machine-specific route check.
The collection crew should not be assumed to disconnect gas, hard-wired electricity, plumbing, refrigeration lines or fixed building systems. Arrange the appropriate technician or responsible party where needed, and confirm that the item will be released, empty and safe before collection. Likewise, do not promise that a heavy or unusual object is acceptable until its size, material and route have been assessed.
Keep chemicals, gas cylinders, paint, unknown liquids, batteries and other controlled material separate from the ordinary item list. Photograph labels without opening containers and ask about the correct route. Hiding a special material inside a cabinet or bag prevents an accurate decision.
Build one final pickup brief
Combine the useful details into one message so the item list and access information cannot drift apart. A practical brief contains:
- the Dubai location and property type;
- the preferred date or time constraint;
- each bulky item and its condition;
- dimensions of the whole item or largest rigid component;
- clear item and route photographs;
- floor number and lift or stair details;
- confirmed building window or pending approval;
- loading-point and parking information;
- any dismantling, disconnection or ownership dependency;
- smaller items travelling in the same load.
Mark what is confirmed and what is still pending. For example: “service lift requested for Tuesday, confirmation due Monday” is more useful than treating the request as an approval. If an appliance technician is booked, state when release will be complete.
Send the finished brief to a junk-removal service for assessment. The purpose of the message is not to make the job sound simple. It is to show the real item, the real route and the decisions that must be settled before dispatch.
Collection-day check
Recheck that the photographed items are still the items leaving. Remove personal contents from drawers and shelves, protect objects that stay, and keep keys or access cards with the person coordinating the collection. If building approval changed, communicate that before the crew travels.
Keep dismantled hardware only when an item is being retained or transferred for reuse. If the whole object is being removed as unwanted material, ask whether loose fittings should remain with it rather than leaving an unlabelled bag in the property.
Do not add a substantial object at the loading point without assessment. It may change space, weight, handling or timing. Send an updated photo and wait for confirmation. A complete bulky-item pickup is the one that was described, measured and routed before the first lift.
Common questions about bulky-item pickup
Do I need exact measurements before requesting pickup?
Approximate measurements are useful for an initial assessment, especially for the largest rigid part and narrow route points. Where clearance looks tight, take accurate measurements before the booking is treated as final.
Should I dismantle furniture before taking photos?
Usually, photograph the complete item first. Then show intended connections or any components already released safely. Premature dismantling can hide the original construction, mix hardware or create unstable panels.
Is one doorway photo enough?
Only when the rest of the route is genuinely open and clear. In an apartment or managed building, the corridor turn, service lift and loading point often matter as much as the room door.
Can I include bags and boxes with the bulky items?
Include them in the inventory and photographs. Do not assume small items have no effect; several bags or boxes can materially change the finished load and collection plan.