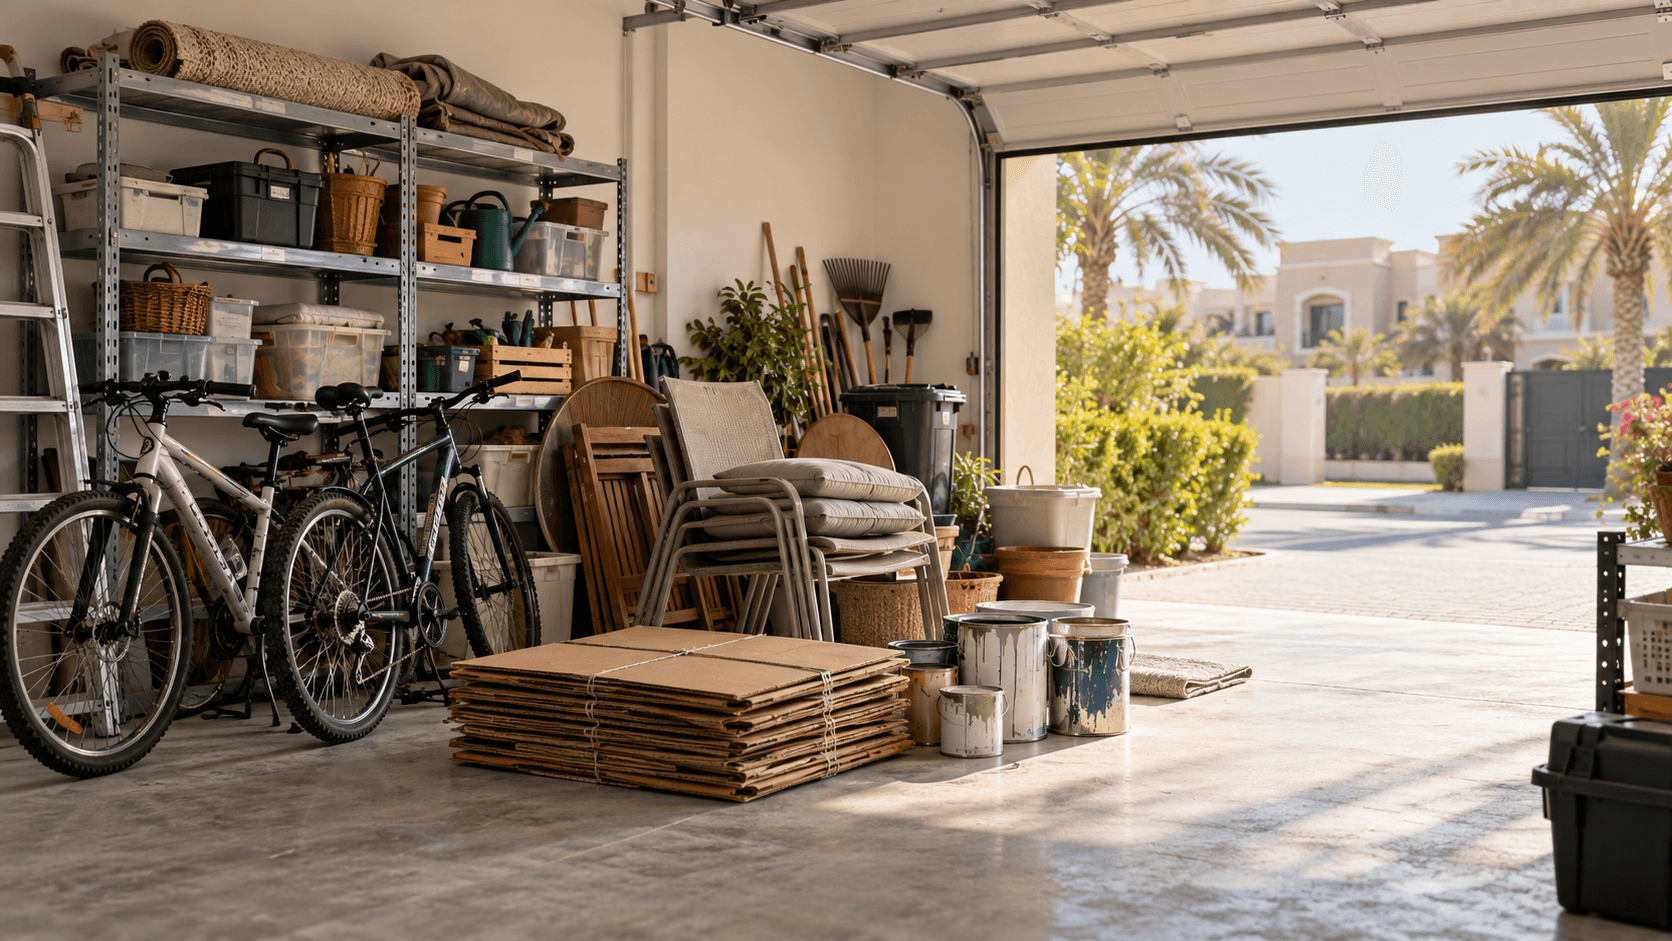
A bolt-together metal shelf should be emptied before anyone loosens the frame. Photograph it loaded and empty, confirm whether it is freestanding or fixed, label each level, and decide whether the complete rack fits the route. Do not remove random bolts from an upright structure and wait for it to lean.
The shelves may hold light cartons, but the frame can become unstable as soon as a brace or the wrong shelf is released.
Confirm which rack is leaving
Name the location first: home garage, private store room, utility room, small workshop or business back room. Then name the rack. If several identical bays stand side by side, mark the outgoing one in the photograph. “The metal shelves” is not enough when one bay stays and one goes.
Check ownership. Shelving supplied by a landlord, building, warehouse operator or employer may be part of the premises or business assets. A tenant's padlock, boxes or tools do not prove the frame belongs to the tenant. Get written release before dismantling or collection when ownership is not obvious.
This guide covers a modest freestanding rack assembled with bolts, nuts and metal shelves or beams. It does not cover pallet racking, a mezzanine, cantilever storage, a rack supporting services, or a structure designed for forklifts. Those systems need the responsible site team and an appropriate specialist plan.
Look for fixings at the feet, wall and neighbouring bays. A rack can appear freestanding while anchors hold its rear upright to a wall. Two bays may share a post or brace. Photograph every connection you can see without moving the load. Do not undo an anchor merely to find out whether the frame stands without it.
If the rack is visibly leaning, twisted, corroded through, overloaded or missing fasteners, stop using it. Keep people clear and do not unload it alone. This article cannot assess structural safety from prose. Send photographs and ask for a controlled plan.
Empty from the top without creating a floor pile
Decide where the contents go before lifting the first box. Make three zones: keep, remove and ask. The ask zone holds unknown containers, borrowed tools, files, stock without release and anything another person must decide. A clearance should not convert uncertain property into junk.
Start at the top shelf and work down, one level at a time, so the rack is not left top-heavy. Use a suitable step platform where needed. Do not climb the frame or stand on a metal shelf. Keep the floor beside the rack clear enough to step back with a box.
Open anonymous cartons. Remove documents, keys, batteries, liquids and valuables before a box is described as general junk. Label dense contents such as books, tiles or metal parts because their weight is not visible in a photograph. Do not combine them into a larger carton that one person cannot safely lift.
Garage racks commonly hold paint, oil, pesticides, cleaning liquids, gas containers and vehicle batteries. Keep these outside the ordinary pickup until acceptance is confirmed. Do not pour liquids away, mix containers or hide them in a box of tools. Photograph labels and disclose leaks or damage.
Electrical tools and loose batteries need their own line. Remove a battery from a tool only according to its normal design and store it as its instructions require. A swollen or damaged battery is not ordinary shelf contents. Do not tape it to the rack for transport.
When the top level is empty, photograph it. Continue downward. This sequence leaves a record of what was removed and prevents a tall frame from being shaken while someone is reaching above shoulder height.
Do not make a new obstruction in front of the garage door. Keep the removal zone to one side of the route and the keep zone somewhere the crew will not enter. If the rack is the only usable sorting surface, use labelled floor sheets or cartons instead; the rack needs to become completely empty before its frame is assessed.

Identify the frame and its fasteners
Count uprights, shelves, diagonal braces and cross-members. Look at how the shelf levels connect. Some racks use bolts and nuts, some use rivet-style tabs, and some combine bolts with slotted beams. Do not call all of them bolt-together because one bolt is visible at the foot.
Photograph a typical joint and every joint that differs. Show both sides where accessible. Record missing bolts, bent tabs, enlarged holes and makeshift repairs such as wire, cable ties or mismatched screws. These details decide whether the frame can move intact and whether it could ever be reassembled.
Check for sharp edges. Thin metal shelves can have unfinished lips, and damaged uprights can expose burrs. Do not run a hand along an edge to test it. Photograph the damage and keep people away from it. A handler can confirm how it should be protected.
Rust staining is not the same as a perforated member. Describe what you see without declaring the rack sound. Surface rust, flaking metal, holes and a joint that bends are different observations. If corrosion has weakened a connection, do not begin dismantling it under load.
Find the maker label if one remains. Photograph it. Do not invent a load rating from the number of shelves or from what the rack used to hold. The removal decision is about the empty frame and route, not permission to load it again.
Keep a small container ready for fasteners only after dismantling is approved. Label it with the rack or bay name. Loose bolts on a garage floor become puncture and trip hazards, and a mixed bucket of hardware makes reuse harder.
Measure the complete rack first
Record height, width and depth at the widest points. Include projecting feet, braces and bolt heads. If two bays share an upright, measure and describe the complete connected structure rather than pretending one marked bay can already lift away.
Measure the exit route: the space in front of the rack, garage door opening, side gate, store-room door, corridor turn, lift and loading point. A light empty rack can still be too tall to rotate under a ceiling or too wide to pass a door.
The route determines whether whole-piece collection is realistic. If the complete rack fits and is stable, dismantling may create unnecessary loose metal. If it does not fit, controlled breakdown is a preparation step. Do not decide from the room photograph alone.
Photograph overhead restrictions such as pipes, a garage-door track, lighting and cupboards. Do not tilt a rack into them to test clearance. State the measured space and let the collection plan decide orientation.
If the rack stands on a raised kerb or behind a parked vehicle, show that. Move the vehicle only if you are authorised and can keep the approved loading route clear. Do not promise door-to-truck access when the frame must cross a garden, stair or basement ramp.
Decide whether it travels whole or in labelled parts
The first option is an empty, stable frame carried whole. It works only when the route fits, no anchor remains, the structure does not rack or twist, and the handler has accepted it that way. Do not drag it across the floor; metal feet can scratch finishes and catch on thresholds.
The second option is a designed breakdown. The furniture-dismantling guide provides the general decision: construction, condition, destination and the largest resulting part. Apply it here with one extra rule—keep the metal frame stable throughout the sequence.
Do not start by removing diagonal braces. Bracing is what resists the frame folding sideways. Do not remove the lowest shelf while upper levels remain connected and unsupported. The correct order depends on the rack design and should be agreed from the photographs or handled by the confirmed crew.
If you have been given a dismantling sequence, label the shelf levels before work starts. Keep left and right uprights identifiable, and bag the bolts with the rack. Put long members flat in a controlled area where they cannot slide into a walking route. Protect sharp ends as instructed.
For disposal, labelling still helps. It tells the collector which loose steel belongs to the rack and which bar is a retained tool or property fixture. It also produces an honest count: four shelves, four uprights, eight braces and one fastener bag, rather than “some scrap metal.”
For reuse, take more care. A bent upright, missing brace or enlarged bolt hole may make reassembly unsuitable. Do not promise the rack to a recipient until they have seen its condition and confirmed they want the complete labelled set. Collection is not a guarantee that another person can rebuild it safely.
Never cut the rack with a grinder or saw as casual preparation. Cutting creates sharp edges, heat and sparks, and can involve coatings or nearby fuels. This guide does not authorise hot work or power-tool cutting. If destructive work is necessary, it needs a separately confirmed method and suitable control of the area.
A garage rack is not warehouse pallet racking
Home and small-store bolt-together shelves normally carry hand-loaded cartons, tools and household goods. Warehouse pallet racking is part of a larger storage system with beams, bays, anchors, load controls and vehicle operations. Similar paint colour does not make them the same job.
The warehouse-clearance guide keeps pallet locations, stock release, active operations and formal racking decisions. Use that guide when the structure belongs to a warehouse system or when forklifts and pallets are involved. Do not use this article to dismantle one bay inside an active rack run.
A commercial back room can still contain the modest rack covered here, but the business must release both the frame and its contents. Keep stock, customer property, records and equipment off the removal list until the authorised person signs them out.
Installed shelving is also distinct. A rail system screwed to a wall, built-in cupboard shelves and overhead garage storage are fixtures until their ownership and release are confirmed. This article does not turn them into loose furniture.
Include the rack in a garage clearance
If the shelving stands in a garage full of other items, use the garage-clearance guide for the complete zone plan. That guide separates keep, give away, move and remove, and keeps fuels, batteries and chemicals out of mixed junk. This page supplies the narrower rack record.
List the shelf contents separately from the metal frame. “Rack and everything on it” hides liquids, batteries, valuables and unknown ownership. Empty it, sort the contents, and then quote the empty rack plus the approved outgoing boxes.
Say whether the cleared floor behind the rack is also in scope. Small objects often fall behind a shelf, but a wall fitting, cable or pipe is not junk because it was hidden. Photograph the newly visible area before adding anything else.
For a garage-only job, keep the house and garden out of the load. For a whole property, name the rack as its own item within the garage zone. Either way, do not add it at the door after sending only photographs of cartons.
Include the rack in the pickup
Once it is empty, released and described, include the rack in the pickup. The service page owns the booking for the rack with the other junk. This guide owns the decision about leaving it whole or presenting it as controlled, labelled parts.
Send:
- a wide photograph of the loaded rack before sorting
- a wide photograph of the rack completely empty
- height, width and depth at the widest points
- the number of shelves, uprights and braces
- close photographs of joints, anchors, rust and bent metal
- whether bays share posts or connections
- the approved outgoing contents, listed separately
- every battery, liquid, cylinder or unknown container kept outside the general load
- doorway, gate, lift and loading-route measurements
- whether the rack is for disposal or hoped-for reuse
- the date by which the space must be clear
Do not describe the metal only as scrap. The collector needs to know whether it arrives as a complete three-dimensional frame or as long loose members. Do not describe the boxes only as garage contents. Say what dense or restricted material is inside.
If several bulky items share the visit, list each one. A workbench, bicycle, cabinet and shelf rack have different rigid dimensions. A single wide photograph is useful, but it does not replace counts and measurements.
Prepare the route and building access
Clear a path wider than the largest part. Remove hoses, mats, tools and loose cartons from the route. Keep children and pets away from the sorting and dismantling area. Do not leave long metal members upright where they can fall.
Confirm the vehicle position with the building or community. A garage door opening onto a drive does not automatically authorise a truck to block the road. In a tower basement or separate store room, provide the level, access key, lift booking and route to the approved loading point.
Do not stage the rack in a corridor, parking aisle or pavement. Keep it inside the controlled space until the collection begins. If dismantling is being done by the crew, leave enough clear floor around the frame for that work rather than filling the area with outgoing boxes.
Collection does not repair anchor holes, repaint rust marks or remove a wall fitting that was outside the agreed rack. Arrange property repairs separately. If the rack concealed damp, pests or damaged services, stop and tell the appropriate property contact.
On collection day
Walk the keep, remove and ask zones with the crew. Point out the exact rack and anything fixed to the property. Show the hardware bag and labelled members if the frame was dismantled under an agreed plan.
Disclose changes before lifting starts. If an extra shelf, anchor or damaged joint appeared after the quote, it affects the method. If a box now contains paint or batteries, move it out of the ordinary load and ask again.
Keep one decision-maker available. A family member or site colleague should not add tools from the keep zone while another person is confirming the rack. The collection should match one written list.
After removal, check the floor for nuts, sharp fragments and items that fell behind the frame. Do not sweep unknown powder or liquid into a drain. Keep the area closed until exposed fixings and sharp objects are dealt with.
Questions
Should I dismantle the rack before collection?
Only when the route requires it and a safe sequence has been confirmed. An empty stable rack that fits may travel whole. Randomly removing bolts can make the frame lean or collapse.
Can the contents stay on the shelves?
No. Empty and sort the rack first. Unknown boxes, liquids and batteries cannot be assessed through the frame, and their weight makes the structure harder to handle safely.
What if the rack is bolted to the wall or floor?
Photograph every anchor and confirm ownership. Do not release a property fixture or one bay of a connected system without an approved plan.
Is rusty shelving accepted?
Show the condition. Surface staining, flaking metal and a perforated or bending joint are different. A collector needs photographs before confirming the handling method.
Can the metal be recycled?
Do not promise a destination that has not been confirmed for this load. Describe the frame and ask the collector about its route. The immediate job is safe release and collection, not an unsupported recycling claim.
Empty the rack before touching its bolts. Once ownership, anchors, joints and the route are visible, the collector can decide whether one stable frame or a labelled set of parts is the safer load.