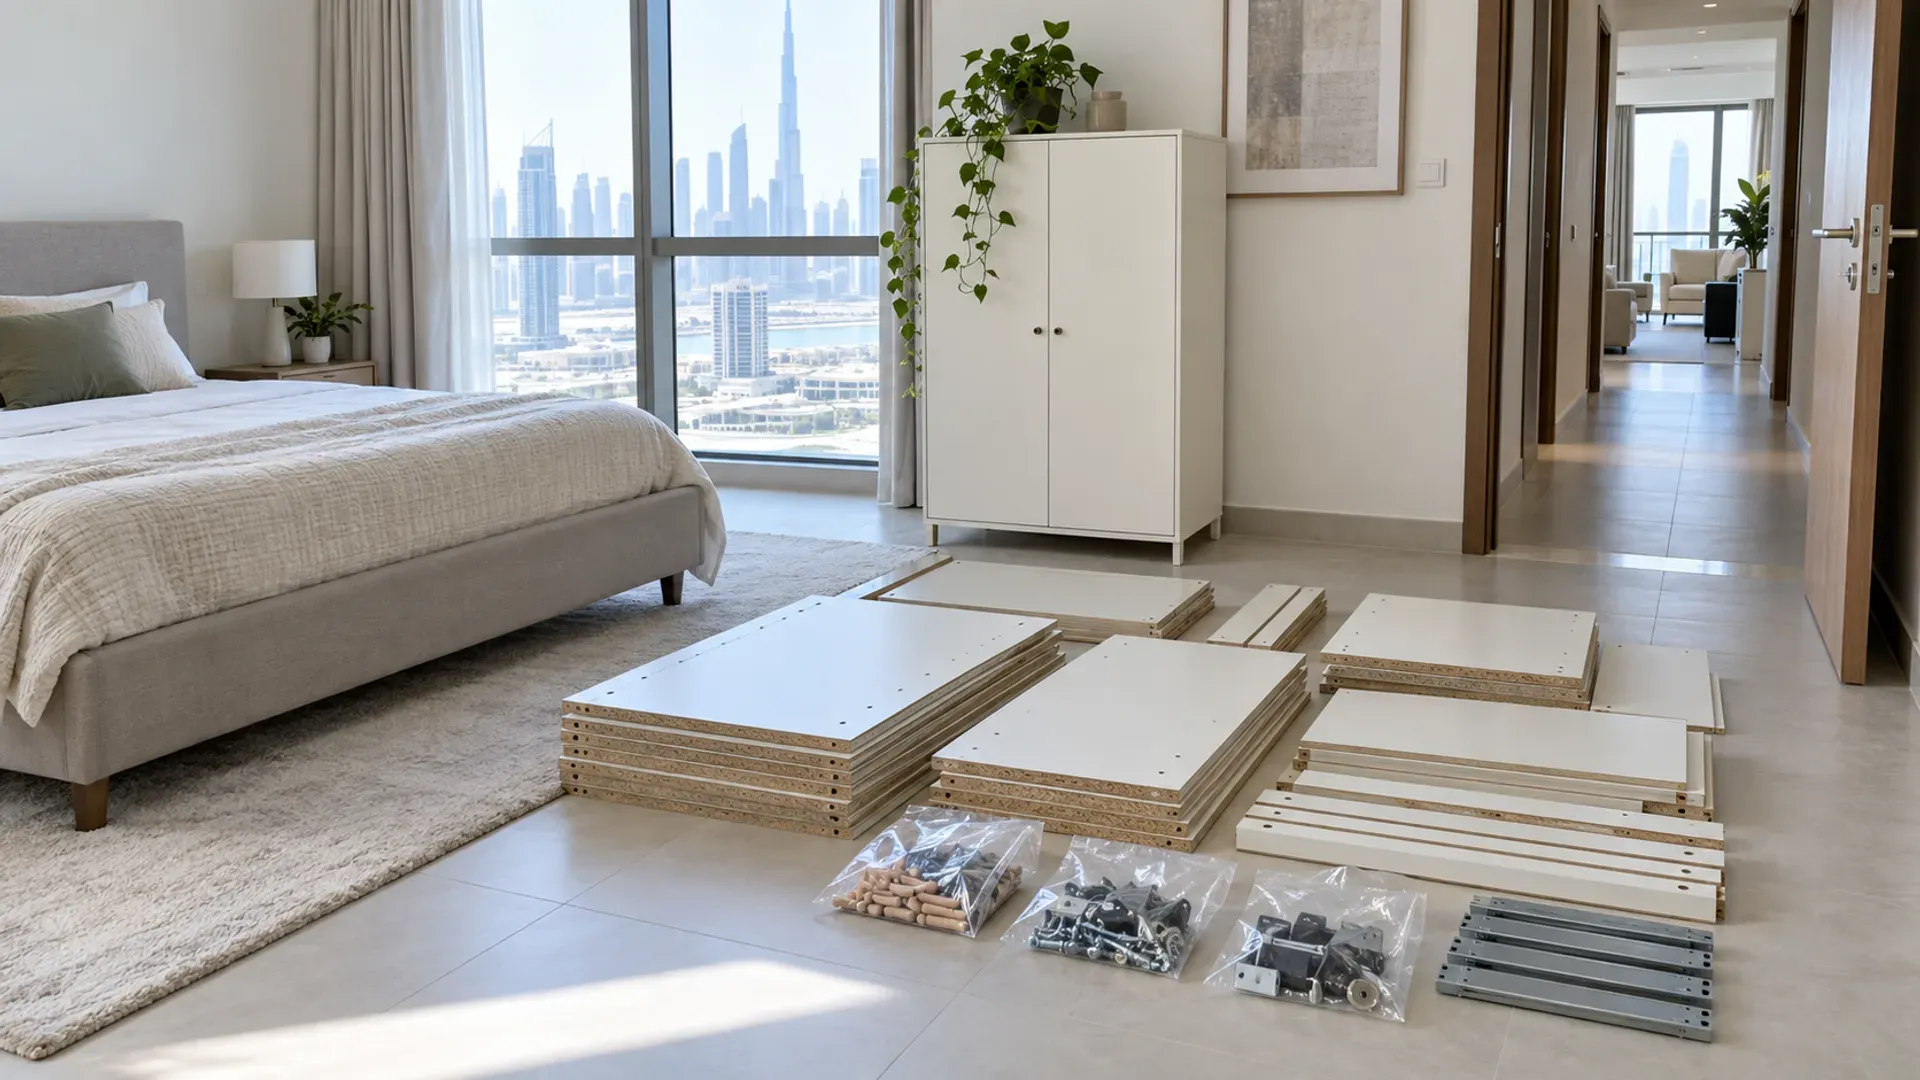
Flat-pack furniture can sometimes move successfully, but it does not automatically survive repeated dismantling and assembly. Inspect the panels, joints, backing and hardware before choosing whether to move it intact, dismantle it for reuse or approve it for removal. The correct route depends on its condition and the real access path, not its original brand or price.
Understand how flat-pack furniture carries loads
Many flat-pack items use engineered boards, dowels, cam fittings, screws and thin backing panels. The complete frame works because these parts share the load. Once joints loosen, holes enlarge or panels swell, another assembly may not restore the original strength.
The back panel often keeps a wardrobe or bookcase square. Removing it before supporting the frame can let the cabinet rack sideways. Tall items may also be secured to a wall; that fixing should be identified and released safely before movement.
Do not judge only by the front finish. Check exposed edges, the base, fastener holes and areas near hinges. Moisture damage, crushed corners and pulled fittings matter more than a clean door.
An item designed for assembly can still be difficult to dismantle after years of use. Paint, sealant, replacement screws and deformed fittings can hide the intended sequence. Stop if the frame becomes unstable.
Inspect condition before deciding
Empty every shelf and drawer. Move the item away from the wall only if it is safe to do so, then inspect the base, back and joints. Look for leaning, gaps, movement, cracking, swollen board and loose hardware.
Open doors and drawers gently. Misalignment can show that the frame is no longer square. Check whether hinges and runners still hold firmly. A screw that spins without tightening suggests the board around it has weakened.
Photograph the complete item, damaged areas and fittings. Record height, width and depth. If it has mirrors or glass, measure and photograph those pieces separately.
Decide the intended outcome: continued use in the same form, reuse as parts, or removal. A safe removal method does not prove the item will be suitable for rebuilding.
Compare three realistic routes
The first route is moving the item intact. This can preserve joints that may not tolerate another disassembly, but only when the frame is stable and the complete route has sufficient clearance.
The second route is dismantling in the intended sequence for reuse. It requires sound panels, identifiable hardware, organised parts and confidence that the destination can accept the item.
The third route is controlled dismantling for removal. Panels can be reduced to manageable sections without preserving every fitting, but they still need safe support and containment. Glass and sharp hardware require separate handling.
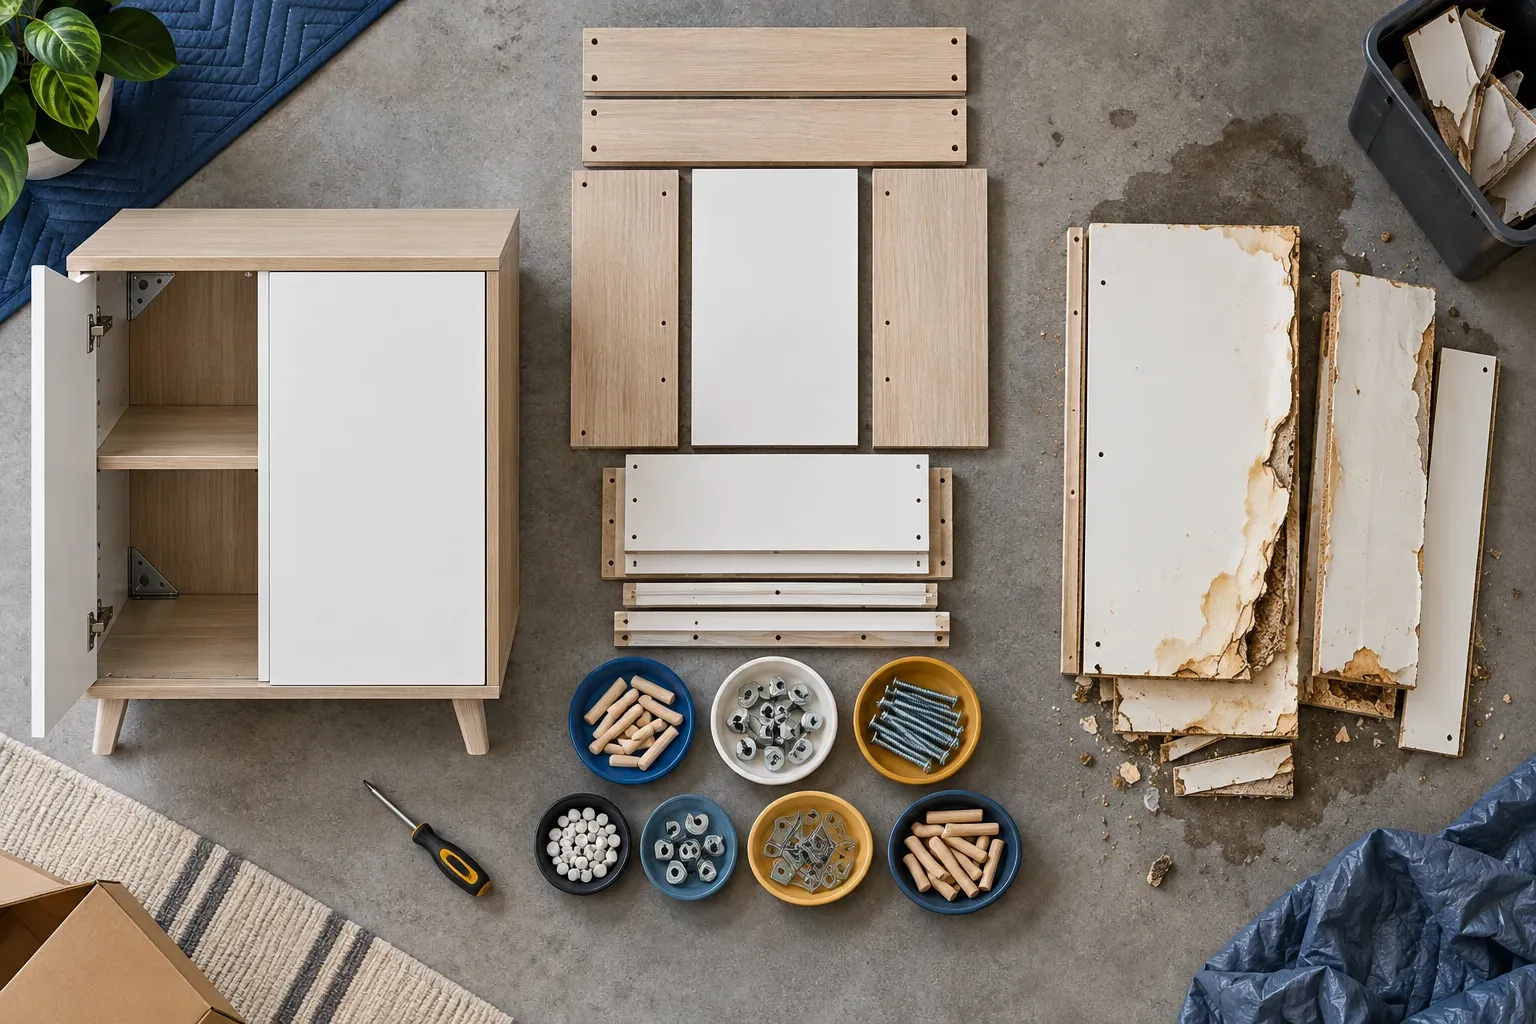
Do not assume one route suits every item in a room. A sound cabinet may move intact while a water-damaged bookcase requires controlled removal. Assess them individually.
Decide whether it can move intact
Measure the furniture at its widest and tallest points, including handles, feet and trims. Then measure door openings, corridor turns, lift doors, lift car and loading entrance. Allow space for hands and carrying orientation.
Check structural stability. A tall cabinet that twists when gently tested should not be carried as one piece. Remove loose shelves and drawers even when the frame stays intact. Secure doors so they cannot swing during a turn.
Consider weight and lifting points. Engineered-board furniture can be heavier than its appearance suggests, and the base may not tolerate lifting from one corner. Let the removal team choose carrying positions.
The furniture removal service should receive photos, measurements, floor level and route information. That enables a practical decision before the crew arrives.
Dismantle for possible reuse
Find the original instructions if available, but confirm the actual item still matches them. Photograph every stage before removing hardware. Work with the item supported and avoid releasing structural fixings while panels carry weight.
Label panels by position using a non-damaging method. Keep fittings for each item in a separate sealed bag. Photograph hinge positions, drawer runners and backing orientation. Do not mix hardware from several cabinets.
Use the correct tool and moderate force. Stripped heads and torn cam fittings can make later work harder. If a fixing will not release, inspect it rather than forcing the board.
Protect finished faces and edges. Stack panels flat on a dry, clean surface with support beneath them. Avoid leaning a tall stack in a walkway. Mirrors and glass need separate edge protection.
Recognise when rebuilding is unrealistic
Swollen board, crumbling edges, enlarged fastener holes and broken structural panels are strong warnings. An item that relied on improvised screws or adhesive may not separate cleanly. Severe leaning shows that the frame has already lost alignment.
Missing hardware can sometimes be replaced, but only if the correct type and position are known. Random larger screws can split boards or protrude through the finish. Do not promise reuse based on a bag of unmatched fittings.
Check the destination. A complete set of panels is not useful if the rebuilt cabinet cannot fit the new room, doorway or ceiling height. Confirm dimensions before investing time in careful dismantling.
Be honest about condition with a buyer or recipient. Provide current photos and state whether the item is assembled or dismantled. Let them confirm that they accept the risk and can collect by the deadline.
Handle wardrobes, beds and shelving differently
Wardrobes often depend on backing, plinths and top connections for rigidity. Mirrored sliding systems add weight and fragile tracks. The wardrobe removal plan covers those route and dismantling decisions in more depth.
Bed frames may use repeated metal connections that survive dismantling better than board cabinets, but slats, centre rails and lifting storage mechanisms need organised handling. Release any tensioned or hinged component cautiously.
Tall bookcases can be unstable even when empty. Remove loose shelves and confirm wall restraints before movement. Do not pull from the top or use shelves as lifting handles.
Desks and tables may separate into tops, legs and modesty panels. Support the top before removing the final leg. Protect cable trays and do not treat powered desk components as ordinary loose boards.
Prepare panels for safe collection
Keep reusable panels separate from damaged removal material. Stack similar lengths flat, protect finished faces and contain small hardware. Do not wrap sharp broken edges in a way that hides the hazard; identify them to the crew.
Remove personal contents, shelf pins and loose fittings. Tape should not be applied directly to finishes unless it is known to be safe. Use blankets or cardboard between delicate surfaces.
Keep stacks low enough to remain stable and leave the carry route open. Long panels need turning space. Do not place them in a lift lobby, corridor or street before the approved collection time.
Tell the provider whether preservation matters. Controlled disposal dismantling may use a different sequence from dismantling for reconstruction. That decision affects time and handling.
Plan apartment and tower access
Confirm service-lift requirements, permitted hours, contractor registration and loading access with building management. Flat panels are easier to carry than an assembled wardrobe but can still be long and awkward in a lift.
Measure the longest panel, not only the assembled width. Check lift height and diagonal space. Protect lift interiors as required and keep fire doors and controls clear.
Avoid filling common areas with dismantled pieces. Stage them safely inside the apartment and release them as the crew loads. Hardware and short rails should be contained so nothing is left in the route.
If access is complicated, share photos of corridor turns and lift openings. The provider can plan crew size, carrying orientation and vehicle stacking from useful evidence.
Consider reuse without assuming acceptance
Offer only items that are complete enough and safe enough for another person to assess. Give dimensions, condition, missing parts and dismantled status. A recipient needs to know what collection and rebuilding involve.
Set a deadline before a move-out or replacement delivery. Interest without an agreed collection time should not block the clearance plan. Keep an alternative ready if the recipient withdraws.
Do not leave furniture beside communal bins or in a corridor for an unknown person. That creates an access problem and does not establish reuse. Use an agreed transfer or removal appointment.
If a component can be reused separately, keep it only when there is a real purpose and storage place. Saving every damaged offcut can simply move the disposal decision to another property.
Request an accurate quote
Provide the number and type of items, condition, current assembly state and desired outcome. Include photos of hardware, mirrors and damage. State the floor, lift and carry distance.
Ask what basic dismantling is included and whether preservation for reuse changes the scope. Confirm carrying, loading and treatment of extra panels. List all items rather than calling them “some flat-pack furniture.”
If you are comparing companies, send each the same inventory and access information. The provider comparison checklist helps test whether each quote covers the complete job.
Agree how additions are handled. A second wardrobe or pile of boards can change vehicle space and time. Update the quote before dispatch.
Collection-day sequence
Empty the item and clear the route. Keep labelled hardware with the correct furniture if reuse is intended. Put retained pieces outside the removal zone.
Walk through the item and destination decision with the crew. Point out mirrors, weak joints and damaged panels. Let the team confirm whether the planned carrying or dismantling method remains safe.
Keep other people away while a tall frame is released. Support panels as connections come apart. Contain hardware and sharp fragments immediately.
After removal, check the room, route and lift for screws, dowels and broken board. Return building access items and inspect surfaces that were hidden by the furniture.
Common mistakes
- Assuming all flat-pack furniture must be dismantled.
- Assuming dismantling guarantees successful rebuilding.
- Removing the back panel before supporting the frame.
- Mixing hardware from several items.
- Using shelves or weak edges as lifting points.
- Ignoring water swelling and enlarged fixing holes.
- Measuring the cabinet but not its longest panel.
- Promising an item to someone without a deadline.
- Leaving panels in common corridors.
- Hiding sharp damage beneath wrap.
Store dismantled furniture before the move
If collection or relocation will not happen immediately, choose a dry indoor area with a level floor. Lay long panels flat on supports so their weight is distributed. Do not place heavy boxes on unsupported centres or finished faces.
Keep each item’s hardware, instructions and photographs together. Add a simple non-damaging identifier that connects the bag to the correct panel set. Store rails and fragile trim where they cannot bend.
Protect panels from moisture, direct floor cleaning and strong heat. Engineered board can absorb water through exposed edges even when the surface looks sealed. Recheck the stack before moving it; a panel damaged during storage may change the reuse decision.
Leave safe access around the stack. Temporary storage should not block doors, sprinklers, electrical panels or the eventual carrying route. If the only available position is unstable or exposed, arrange earlier collection instead of creating another hazard.
Questions customers ask
Can flat-pack furniture be moved twice?
Sometimes. Construction, condition, previous assembly and access decide. Inspect joints and panels rather than relying on age or appearance. An item may move intact even when another dismantling would weaken it.
Should I dismantle it before the crew arrives?
Ask first. Emptying it, taking photos and clearing the route are usually the best preparation. If you dismantle, support the frame, record the sequence and contain hardware by item.
Are damaged panels easier to remove?
They may be easier to reduce in size, but damage can create sharp edges, loose fragments and unstable sections. Tell the provider what is broken and keep the area controlled.
Can the furniture be donated?
Only a recipient can confirm acceptance. Provide honest condition, dimensions, completeness and collection terms. Do not assume every organisation or individual accepts dismantled engineered-board furniture.
Flat-pack furniture checklist
- Empty and inspect the item from all sides.
- Photograph joints, hardware and damage.
- Decide between intact movement, reuse dismantling and removal.
- Measure the item, longest panel and complete route.
- Confirm the destination can accept it.
- Keep hardware separated by item.
- Stack panels flat and protect faces and edges.
- Disclose mirrors, swelling and unstable joints.
- Confirm building and vehicle access.
- Sweep the route for small fittings afterward.
Flat-pack furniture is not automatically reusable or disposable. Inspect what gives it strength, measure how it must travel and decide whether preservation has a realistic purpose. A clear condition assessment prevents a simple cabinet from becoming an unstable stack of mixed panels and missing fittings.