A shop clearance should begin with an asset register and the lease or fit-out handback scope, not with a mixed pile at the entrance. Decide what transfers to another branch, returns to a supplier, belongs to the landlord, contains customer or business data, or is approved for disposal. Then separate stock, furniture, electronics, signage and renovation material, confirm mall or building access, and schedule removal around the last trading day and handover.
A retail unit can look nearly empty while still containing tills, shelving fixings, storeroom stock, branded material and connected equipment. Photographs, quantities and access instructions are needed before a commercial clearance can be quoted responsibly.
Define the clearance result in writing
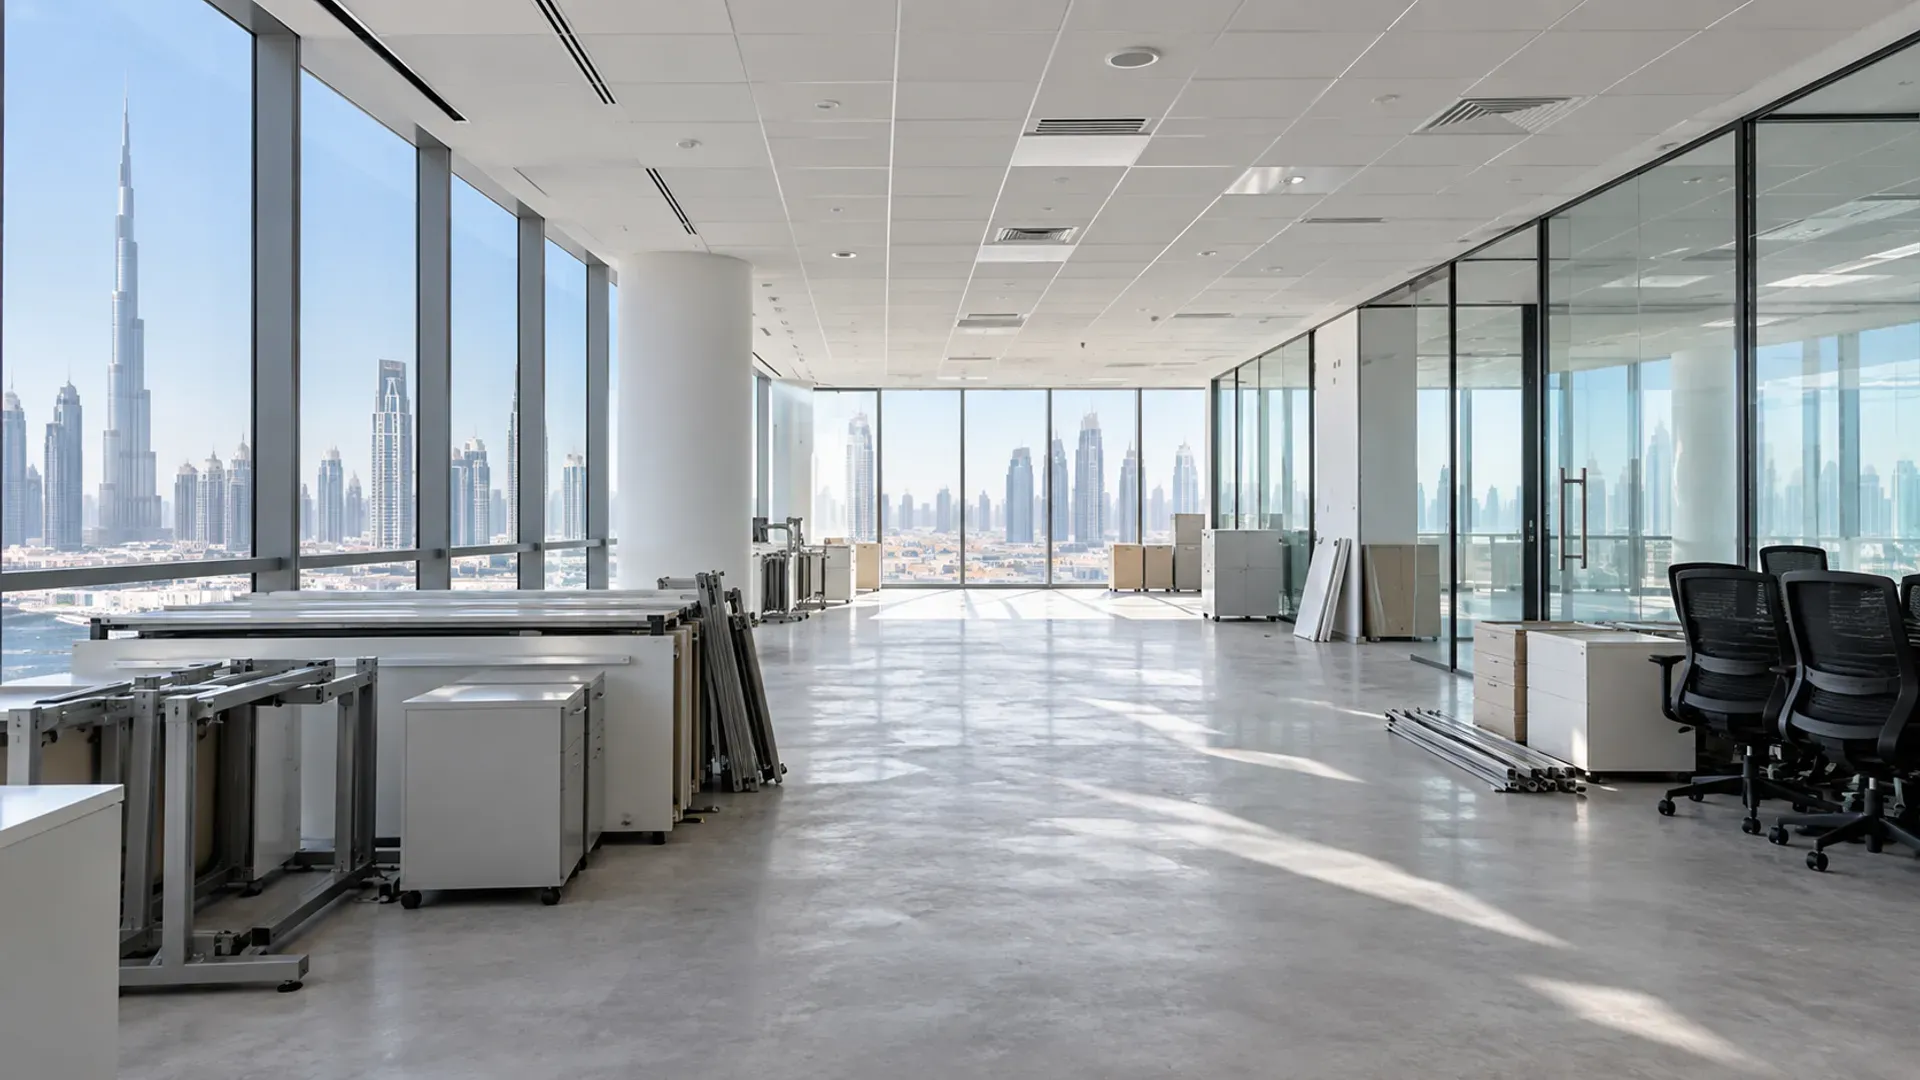
Start with the lease, fit-out documents and the landlord or centre-management handback instructions. Record whether the unit must be returned as an empty fitted shop, stripped to a specified condition or left with named fixtures. This article does not interpret a lease; use the actual documents and professional advice where responsibility is disputed.
List the fixed date and time for last trading, contractor access, inspection, key return and any reinstatement. Work backwards. Do not assume that “vacant possession” or “shell condition” has the same meaning in every property.
Name one authorised project contact. Store managers, finance teams, contractors and landlords can otherwise give conflicting directions. The removal provider needs one approved inventory and a clear escalation route for anything uncertain.
Separate clearance from strip-out and reinstatement
Loose displays, desks, chairs, boxes and disconnected appliances are different from counters fixed to the floor, ceiling grids, partitions, lighting, sprinklers, cabling, plumbing and signage structures. Define which items are ordinary contents and which form part of a fit-out.
Demolition, disconnection and building repair are not implied by a shop-clearance booking. If the project includes fixed installations or renovation debris, state that at the beginning and use the office strip-out planning guide to divide landlord approvals, trade work and loose-item removal.
Build an asset and ownership register
Walk the sales floor, fitting rooms, cash desk, stockroom, office, pantry, service corridor allocation and any mezzanine. Record each group of items and its owner. Include leased card terminals, supplier displays, security equipment, refrigerators, safes, lockers, IT hardware, promotional material and spare fittings.
Use categories that drive action:
- Transfer to another branch or warehouse.
- Return to a lessor, supplier or service provider.
- Retain for the incoming operator or landlord.
- Confirmed recipient for reuse.
- Approved for disposal.
- Decision or ownership unresolved.
Do not let an “unresolved” item enter the removal zone. Keep lease, serial-number and finance records with the project contact, not on a counter that is being cleared.
Record condition and identifiers
Photograph asset labels, serial numbers and existing damage where it is appropriate and permitted. This helps the business reconcile what moved and what was discarded. Avoid publishing or casually sharing customer data, staff details or security-system information in quote photographs.
For reusable fixtures, record dimensions and whether matching fixings exist. For damaged items, identify broken glass, sharp metal, unstable shelving or leaking equipment. The condition affects handling and destination even when the item is approved for disposal.
Settle stock before the clearance window
Saleable stock should follow the business’s transfer, return, sale or write-off process. Junk removal is not inventory control. Complete counts and approvals before mixed clearance begins, and keep retained stock in a physically separate, labelled zone.
Food, cosmetics, medicines, chemicals, batteries and other controlled or date-sensitive products may need category-specific handling. Do not hide them in cartons described as ordinary shop contents. Keep original labels visible and use the appropriate approved route.
Damaged packaging does not automatically make its contents general waste. Ask the responsible business team to classify and authorise the stock. A clearance crew should not decide whether commercial goods can be sold, donated or destroyed.
Protect returns and transfers from accidental disposal
Use a written count and colour-neutral labels with plain words such as TRANSFER, RETURN and DISPOSAL. Avoid relying only on tape colour, which can be misunderstood. Place the categories in different zones and brief the supervisor.
If another carrier is collecting transferred stock, schedule it before disposal where practical. This reduces the chance that high-value or reusable goods remain mixed with unwanted fixtures at the deadline.
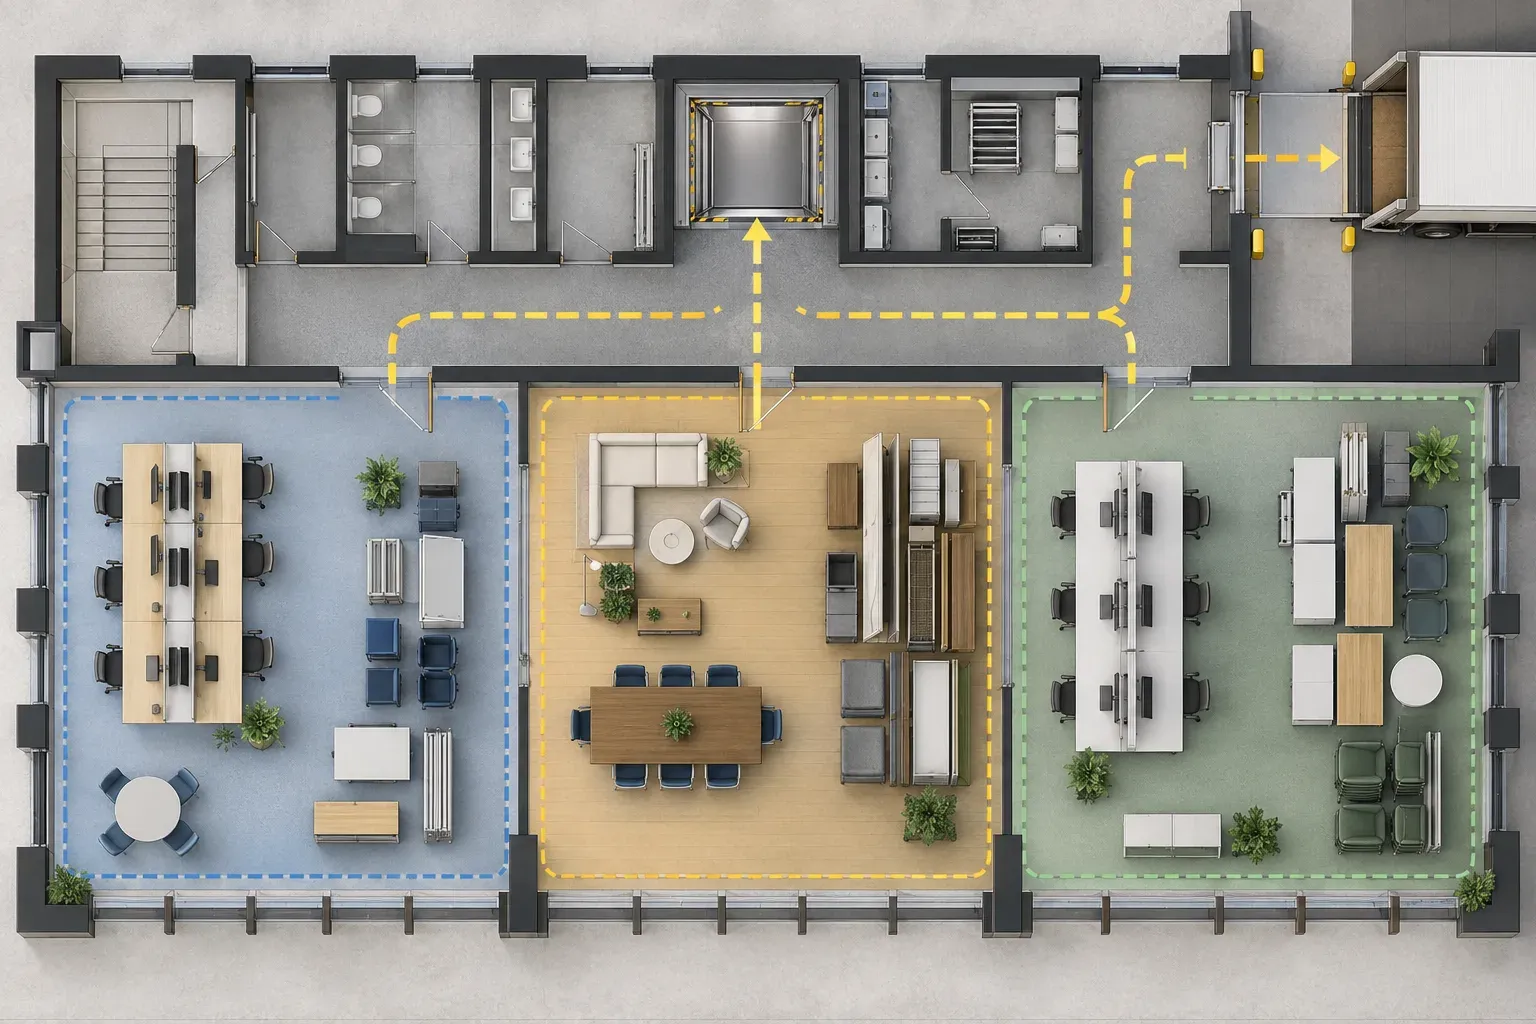
Divide the shop into working zones
Create zones for retained assets, outgoing stock, loose furniture, electrical equipment, approved disposal and excluded materials. Keep a clear pedestrian route and do not block fire exits, mall corridors, loading doors or neighbouring units.
The stockroom needs its own pass. Check high shelves, lockers, drawers, cabinets and packaging stores. A final row of cartons can materially change the load even when the sales floor is empty.
Use wide photographs of each zone plus detail images of heavy, fixed or hazardous-looking items. A close-up of one display stand does not describe a whole retail unit.
Sequence front and back of house
If the shop is still trading, isolate clearance activity from customers and staff. Remove surplus back-of-house material first only when that does not interfere with stock control or operations. Front-of-house fixtures should wait until closure and authorisation.
Do not create a mixed pile outside the shopfront. Centre management may prohibit corridor staging, and it exposes stock and sharp fixtures to the public. Items should move during the approved route and window.
Identify furniture, displays and fittings accurately
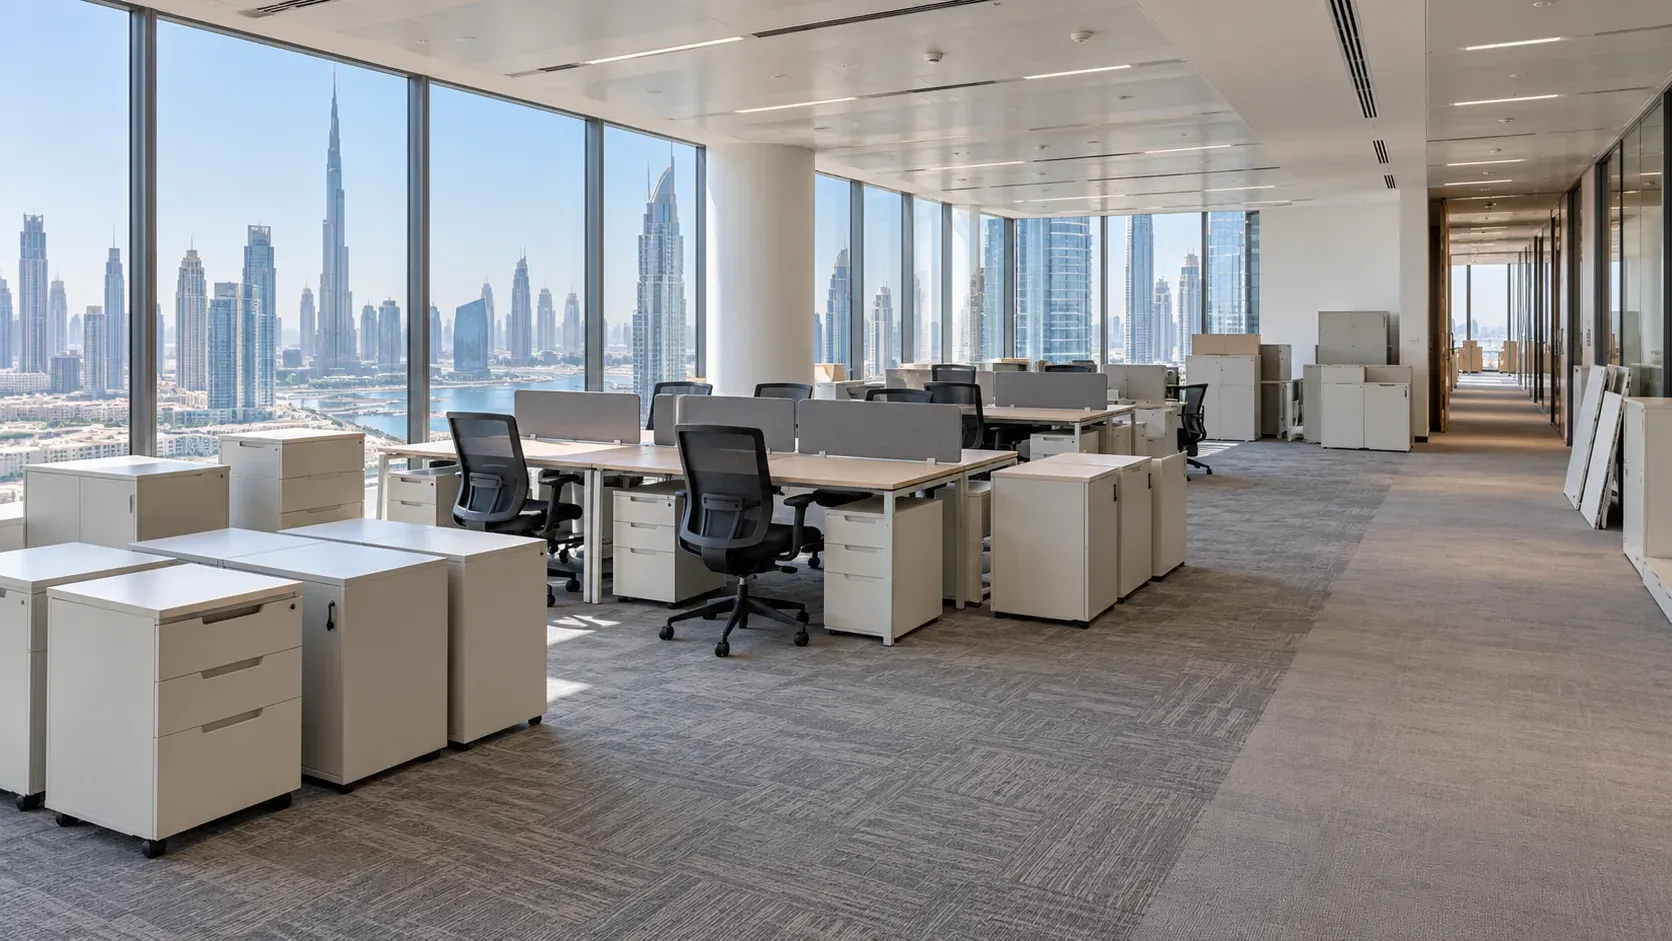
List counters, gondola shelving, wall bays, freestanding rails, display tables, mannequins, seating, desks, lockers and cabinets separately. Say which are freestanding and which are secured to floors or walls. Give approximate quantities and dimensions.
Long metal uprights, glass shelves and stone or glass counters need specific handling. Remove loose glass only through an agreed method and use suitable stillages or protection where required. Do not stack panes against a public corridor wall.
Ask who dismantles modular shop fittings and whether fixings must be retained. Furniture intended for another branch needs labelled components and a relocation plan; unwanted fixtures may use a different dismantling method. The furniture dismantling guide explains how destination, construction and the largest resulting part affect the plan.
Treat branded material as a business decision
Signs, campaign boards, uniforms, bags and printed material may carry names, prices, QR codes or other commercial information. The business should decide whether they transfer, are de-branded or follow a controlled destruction route. Do not assume ordinary disposal is acceptable.
External fascia, illuminated signs and fixed sign structures normally sit outside loose-content collection. Confirm landlord approval, electrical isolation, access equipment and reinstatement with the appropriate contractors.
Separate electronics and data-bearing equipment
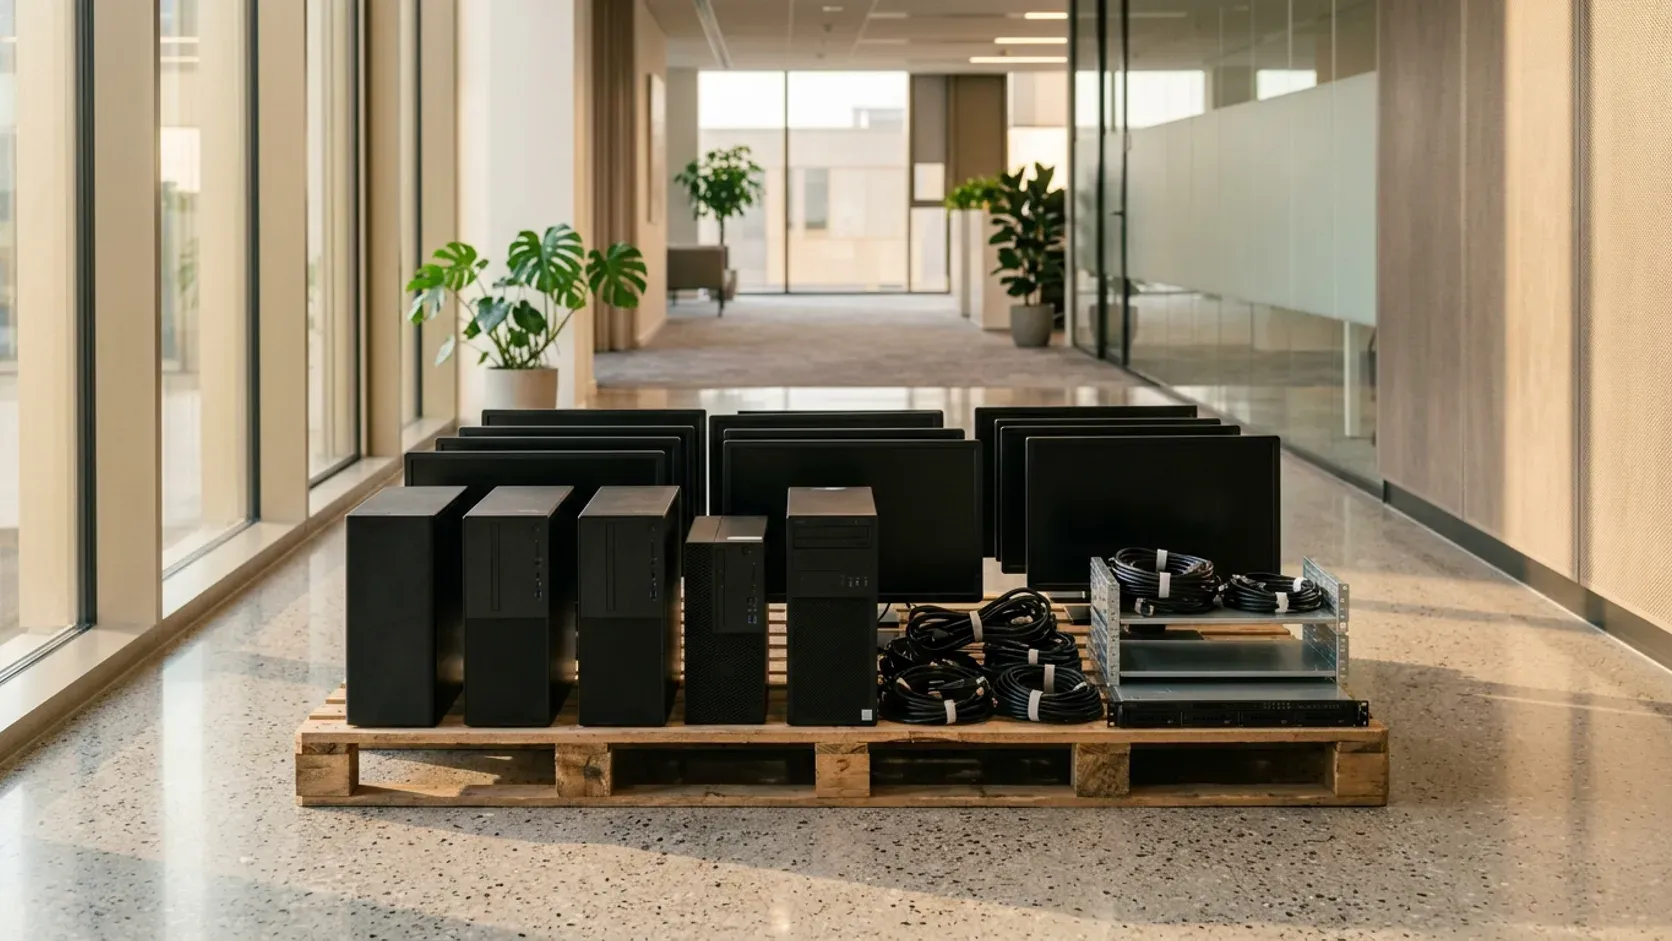
Inventory tills, POS terminals, computers, screens, printers, routers, cameras, phones, storage devices and digital signage players. Assign each one to return, transfer, certified data process or disposal. A general removal service does not erase data or certify destruction unless that exact service has been confirmed.
Disconnect equipment according to its instructions and through appropriate technical staff. Keep power supplies, keys and accessories with retained equipment. Label data-bearing devices and keep them under controlled custody until the approved recipient takes them.
Use the IT equipment disposal guide for the separation between business data, equipment handling and physical collection. Do not describe hardware as “scrap” when the business still has an asset or data obligation attached to it.
Isolate batteries and damaged devices
Report swollen, hot, leaking or damaged batteries and devices. Do not place them inside a mixed carton or operate a faulty unit to check whether it works. Keep people away and obtain an appropriate route.
Small batteries, lamps and electrical components should remain identifiable. Hiding them inside furniture drawers prevents an accurate acceptance decision.
Deal with refrigeration and food equipment separately
Retail refrigerators, freezers, ice machines, coffee equipment and display cases may be connected to power, water, drainage or remote systems. Record the make, approximate dimensions, connection type and whether the unit is leased. Empty all product before preparation.
Arrange appropriate technical disconnection and make the property-side connection safe. Do not cut cables, hoses or refrigeration lines. Commercial equipment is not automatically within a standard household-appliance collection, so ask for a specific assessment. Food-service premises should follow the restaurant-equipment removal guide for stock, residues, utility disconnection, refrigeration and loading-route decisions.
If a small standalone unit is approved for collection, follow its manufacturer’s preparation guidance. Defrost and dry cooling equipment where applicable, and disclose leaks, damaged cables or unknown residue. Confirm whether doors, shelves or glass panels need separate protection.
Keep food and liquids out of the equipment load
Remove food, drink syrups, cleaning liquid, oil and other consumables through the business’s appropriate route. A machine that appears empty can retain water, grounds, grease or product in tanks and hoses. Ask the technician what preparation is required.
Do not pour unknown liquids into a drain or combine containers for convenience. Keep labels and arrange category-specific advice.
Identify excluded and specialist materials early
Paint, adhesives, solvents, aerosols, gas cylinders, fire extinguishers, chemicals, lamps, batteries, sharps and unknown liquids should not enter a general mixed load. Photograph labels and quantities from a safe position and ask for the proper route.
Safes, very heavy equipment, compactors, shutters, security barriers and equipment fixed into the building need specific assessment. Give dimensions, estimated or documented weight, anchoring, access and manufacturer information where available.
Renovation material also needs separation. Tiles, gypsum board, glass, metal studs, timber offcuts and sanitary items are not the same as loose retail contents. If contractors are producing debris, agree who contains and removes it. The renovation waste guide covers phasing, material description and keeping access clear.
Confirm mall or building access before booking removal
Ask property management about contractor registration, permits, insurance documents, security passes, work times, noisy-work rules, lift protection, service corridors, loading bays and vehicle limits. Use the current instructions for the exact unit. Requirements differ between properties and can change.
Obtain approval before fixing the collection time. A crew cannot solve a closed loading bay or missing contractor pass from inside the shop. Share the approved window, entrance, contact and vehicle route with every provider.
For street-facing shops, confirm legal loading and the distance from the unit to the vehicle. Do not reserve public space informally or block neighbouring businesses.
Measure the whole route
Measure the unit doors, service-corridor restrictions, lift door and car, ramp, dock and any tight turns. Include ceiling height where tall frames travel upright. Photograph bollards, kerbs, steps and dock levellers.
The largest dismantled piece can be the limiting item. A long counter panel or shelving upright may fit through the shop door but not turn into the service corridor. Send the route evidence with the inventory.
Schedule around trading, neighbours and handover
Write a sequence: finish stock decisions, complete data and asset sign-off, disconnect equipment, remove transfers, clear approved contents, complete strip-out work, clean and repair, then inspect. Some work can overlap in separate zones, but not if teams share one narrow service route.
If clearance happens outside public hours, confirm both business supervision and building access. Do not claim or assume that a provider operates overnight; request the required window and obtain written confirmation. The out-of-hours clearance guide explains the information a commercial building and provider need to align.
Leave contingency before handover. Hidden stock, a landlord query or a connected appliance can alter the plan. The final hour should be used for checking, not for deciding who owns the counter.
Keep a change log
Retail clearances change as stock sells and departments claim assets. Maintain one current inventory and record approvals. Update the provider when quantities, material categories, access or timing change.
Do not wait until arrival to reveal a larger load or specialist item. A previous quote describes the previous scope.
Send a complete shop-clearance request
Include:
- The unit location, level and property-management contact.
- The last trading, contractor and handover windows.
- Wide photographs of sales floor, stockroom and back office.
- Quantities and dimensions for furniture and display groups.
- Which fixtures are freestanding, dismantled or fixed.
- Every appliance and its connection status.
- Every electronics group and its approved data status.
- Glass, sharp, damaged, heavy or specialist items.
- Lift, service corridor, loading bay and vehicle rules.
- Other contractors sharing the route.
- The authorised supervisor and change-approval process.
Send this to the commercial junk removal service and ask for clear acceptance, exclusions, dismantling, carry-out, timing and pricing. A useful quote is tied to a defined inventory and access window, not merely the shop’s floor area.
Control collection and close the job
Brief the crew at the approved entrance and walk the zones with the supervisor. Identify retained fixtures and unresolved items. Keep customer areas closed or safely separated, and follow property-management instructions for protection and emergency access.
Reconcile transferred, returned and removed assets against the register. After the load leaves, inspect shelves, cupboards, stockroom corners and the route. Record exposed damage or remaining fixings for the relevant contractor. Clearance completion is not the same as landlord acceptance.
Keep service records, access approvals, asset decisions and any required disposal documentation with the project file. Do not invent a recycling or recovery outcome; record only what the responsible provider has actually documented.
Questions about shop clearance
Can a shop be cleared while it is still trading?
Only through an approved phased plan that keeps customers, staff, stock and emergency routes separate. Confirm property rules and isolate work zones; do not move bulky items through an open sales floor without control.
Does shop clearance include removing fitted counters and signs?
Not automatically. Fixed joinery, electrical signs and other fit-out elements may require landlord approval and appropriate trades. Define loose contents, dismantling and strip-out as separate scopes.
What happens to tills and computers?
The business must decide return, transfer, data handling and disposal before physical collection. A removal crew does not automatically erase data or provide certified destruction.
Can unwanted stock go in the same load as furniture?
Do not assume so. Stock may require write-off, return or category-specific handling, especially food, cosmetics, batteries, chemicals or controlled products. Classify and approve it first.
What information is needed for a quote?
Provide the itemised inventory, photographs, fixed-versus-loose status, equipment connections, access route, building requirements and deadline. Floor area alone does not describe the load.