A studio-apartment clearance should be planned as one controlled sequence: protect documents and belongings to keep, decide every furniture and appliance item, then clear the route before anything bulky moves. Because the sleeping, living and storage zones share one room, a vague “clear everything” instruction creates more risk than it removes.
Start with a complete inventory and a fixed decision deadline. The small floor area is not proof of a simple job. A studio can contain a full kitchen, laundry appliances, built-in storage, a bed, seating and months of packed belongings, all using the same doorway and building route.
Freeze the keep list before creating a removal pile
Collect passports, tenancy papers, bank records, medication, keys, jewellery, devices and personal data first. Put them in closed, labelled containers and move them to a trusted location outside the clearance zone. Do not rely on a sticky note attached to an item in a crowded single room.
Next, identify landlord property and furnished-apartment items. Compare the check-in inventory, lease and current room. Photograph anything whose ownership is uncertain and get written direction from the authorised person before removal.
Only then divide the remaining contents into keep, confirmed transfer, reuse candidate and removal. A reuse candidate still needs a named recipient and collection deadline. If no handoff is confirmed by the cutoff, the owner must make a new decision; the clearance crew should not decide ownership or suitability.
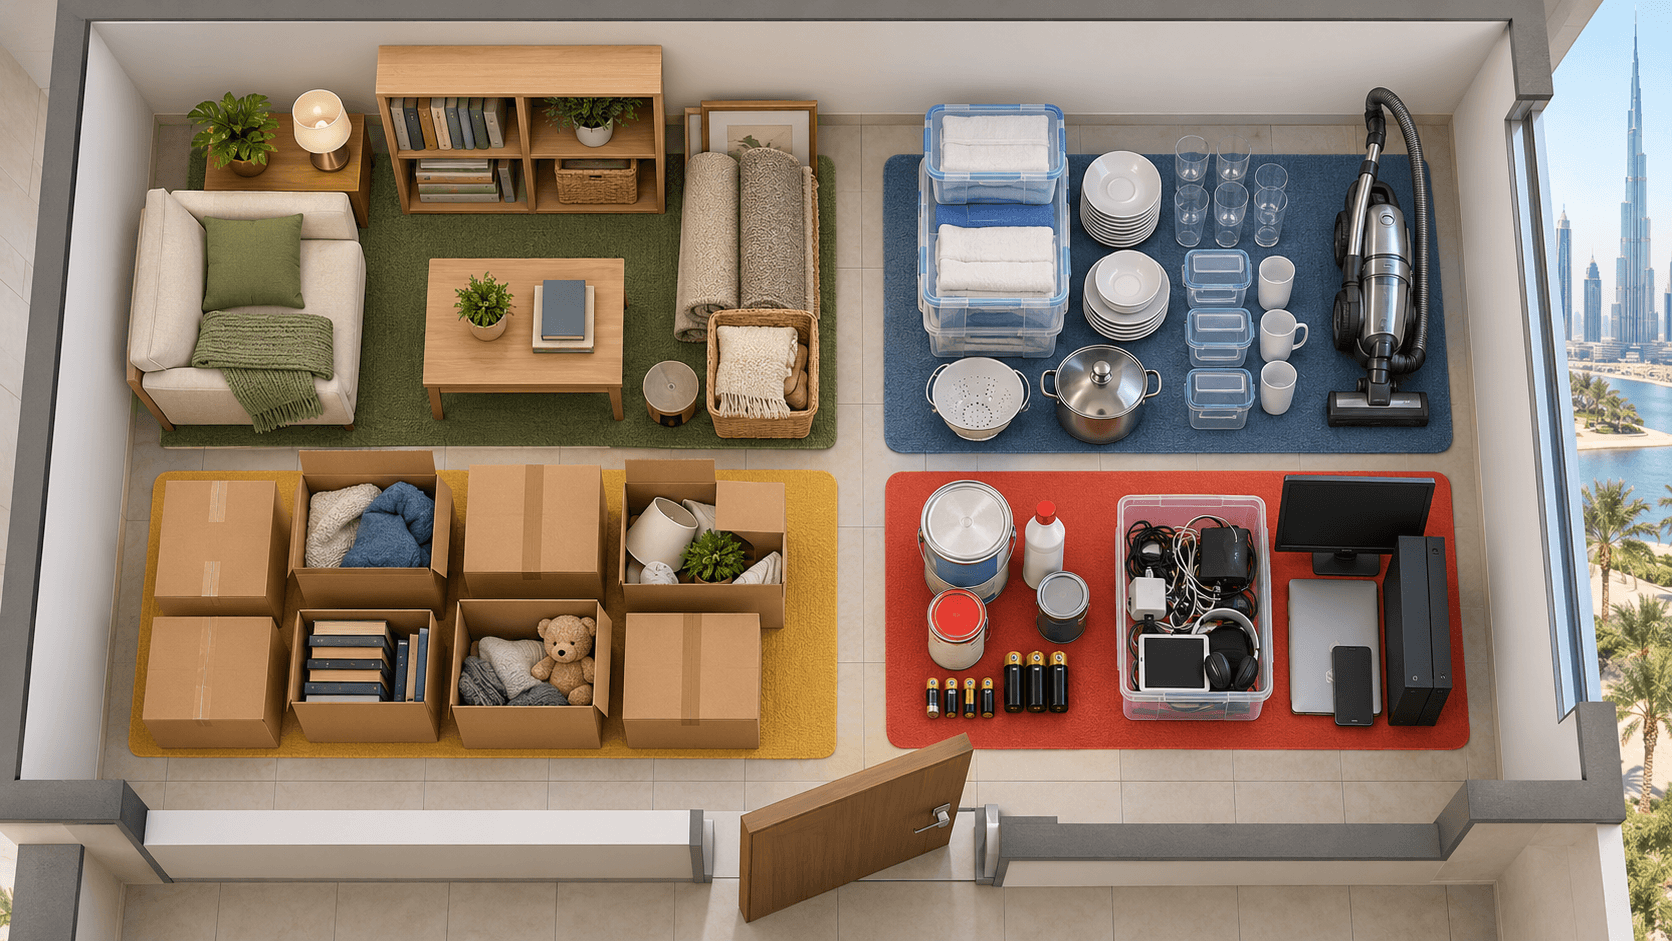
Use zones even when there are no separate rooms
Create small decision zones along walls or in labelled containers, while keeping the exit route open. The bed, sofa or main table may need to stay in place until smaller contents are resolved because there is nowhere else to stage them.
Avoid moving undecided items repeatedly. Record them on the inventory, photograph them in position and settle the decision before the loading appointment. The small-apartment decluttering guide is useful when the goal is to keep living in the studio; a full clearance needs a firmer handover sequence.
Map every place a studio can hide belongings
Work clockwise from the entrance and open every accessible storage point. Check overhead kitchen cabinets, under-bed drawers, sofa compartments, wardrobes, bathroom cupboards, the washing-machine area and any balcony store. Include luggage, boxes behind curtains and items stored above cabinets.
Use a written list rather than memory. Mark each location checked and record items that need another person's decision. If the resident is absent, use a video call or dated photographs, but do not convert silence into permission to discard personal property.
Distinguish loose contents from fixtures
A freestanding shelf and a fitted cabinet are not the same scope. Curtain tracks, wall-mounted televisions, fixed mirrors, light fittings, kitchen joinery and connected appliances may belong to the landlord or require specialist work. Do not remove them merely because the studio is being emptied.
List wall-mounted, hard-wired, plumbed or gas-connected items separately. Confirm the authorised person and appropriate technician for any disconnection or making-safe work. A collection booking is not permission to alter the property.
Decide the large items before packing the small ones
Measure the bed or sofa, table, wardrobe and appliances, then measure the doorway, corridor turns and lift. Record removable legs, detachable sections and fragile panels. Do not dismantle furniture simply to create temporary floor space unless its final destination and hardware plan are known.
For a bed, separate the mattress decision from the frame. For a sofa bed or recliner, identify and secure the mechanism before movement. For a wardrobe, check whether it was designed to come apart and whether mirrors or glass need their own handling plan.
Photograph each large item and the complete route. The quote should include condition, dimensions and access rather than just a wide image of the room.
Coordinate appliance preparation
Empty, clean and dry loose appliances as appropriate before collection. A fridge or freezer needs food removed and a controlled defrost plan. A washing machine or dishwasher needs disconnection and residual water managed by the responsible person. An oven may require a qualified technician if it is fixed, hard-wired or gas-connected.
Do not assume the removal crew provides plumbing, gas or electrical work. Confirm the boundary before the appointment. Protect the floor from residual water and keep hoses and cables controlled rather than trailing across the only exit route.
Build one clear route through the room
The route normally starts at the largest item and ends at the apartment door, service lift and loading point. Remove trip hazards, loose rugs and packed boxes from that line. Keep fire equipment, shared corridors and neighbouring doors unobstructed.
In a tight studio, loading order matters. Small boxes may leave first to create turning space, or a large item near the doorway may need to go first before other sorting zones are disturbed. Agree the sequence during the pre-job walk-through instead of improvising after the room is full of movement.
Confirm the building window
Ask building management what approval, service lift, protection and loading arrangements apply. Give the collector the approved date, time, entrance, parking instructions and contact person. Do not promise access based on what happened during a previous move.
If an NOC or contractor document is required, settle it before confirming the crew. The service-lift booking guide explains how the building window and removal booking need to match.
Separate clearance from cleaning and repair
Removal creates an empty area; it does not automatically include deep cleaning, painting, wall repair, pest treatment or restoration. List those jobs separately and assign each to the appropriate provider. Schedule enough time after clearance to inspect the whole studio before cleaning begins.
Take photographs of existing damage before bulky items move. Pay attention to walls behind the bed, floor under appliances, cabinet interiors and the bathroom. If dismantling leaves approved fixings or anchors, confirm who removes them and who repairs the surface.
Work backwards from handover
Set the inspection or key-return time, then reserve time for clearance, missed items, cleaning and any authorised repair. Do not place all four activities in the same final hour. A small apartment offers few places to hide an unfinished task once the deadline arrives.
Replacement delivery, mover collection and junk removal should have separate scopes and practical windows. Mark move stock differently from the unwanted load and keep the two physically apart.
Photograph the complete load for a quote
Start with wide views from the entrance and opposite corner, then photograph every large item and each group of boxes or bags. Show the kitchen, bathroom store and balcony separately. Include the apartment door, corridor, lift and loading access.
Send a written summary containing:
- Studio location, floor and authorised contact.
- Target clearance and handover dates.
- Furniture and appliance inventory with dimensions.
- Counts of bags, cartons and loose items.
- Keep, transfer and landlord-property boundaries.
- Any glass, mirrors, sharp damage or heavy pieces.
- Disconnection status of every appliance.
- Lift booking, access window and loading instructions.
- Tasks explicitly outside the removal scope.
Ask the house clearance service what the quotation covers, what must be ready before arrival and how a scope change will be handled. A studio label is not enough information for a reliable assessment.
Do a final decision check before arrival
The day before collection, walk the inventory with the decision-maker. Remove personal bags and move stock from the clearance zone. Open drawers and cupboards, empty appliance contents and confirm that labels are still attached.
Update the provider if the load has changed. A newly added mattress, appliance or balcony group can affect the route and loading plan. Send current photographs instead of waiting for the crew to discover the difference.
Control the clearance on the day
Have one authorised person available to answer keep-or-remove questions. Walk the first zone with the crew and point out landlord property, retained items, fragile areas and anything requiring special handling. Do not allow multiple people to issue conflicting instructions.
As each zone clears, check it against the inventory. Keep keys, access cards and building paperwork with the responsible person. If an item cannot move through the planned route, pause and reassess; do not force it through a doorway or assume unapproved building work is acceptable.
Inspect before the crew leaves
Open every cupboard and drawer again. Check behind doors, above cabinets, under sinks, on the balcony and around appliances. Reconcile any item that was held back or could not be removed.
Walk the apartment-to-vehicle route for loose packing, marks or abandoned items. Record the empty studio with dated photographs before cleaners or other contractors change the scene.
Keep the handover evidence precise
Retain the final inventory, removal confirmation and photographs actually produced. These show what was agreed and what the apartment looked like after clearance; they do not decide a deposit dispute or certify the landlord's acceptance.
If the studio was furnished, compare the remaining items with the check-in list. Report uncertainty rather than trying to replace or discard something without authority. The end-of-tenancy clearance guide provides the wider handover timeline.
Handle the balcony and storage cage as separate zones
A studio may have only one internal room but still include a balcony, parking-level cage or assigned cupboard. Add each space to the inventory and confirm that it belongs to the tenancy. Do not assume an unlabelled cage or corridor cabinet is available to open or clear.
Balcony contents need their own photographs. Separate furniture, planters, soil, glass, tools and general belongings because they do not form one uniform load. Check the doorway and level change between the balcony and room, and protect the interior route if outdoor items are dusty or wet.
For a remote storage cage, confirm the key, building permission and route independently. The lift or vehicle access used for the apartment may not serve the parking or storage level in the same way. Reconcile the cage before the main appointment ends so it does not become the forgotten final load.
Do not use shared space as overflow
When floor space is tight, it can be tempting to place sorted boxes in the corridor. Keep them inside an authorised area instead. Shared routes must remain available, and unattended belongings can lose their labels or be mistaken for communal waste.
If the studio cannot hold all decision groups safely, use a staged sequence: remove confirmed transfer items, then prepare the approved clearance load. The answer is a better timetable, not an uncontrolled staging area.
Plan for an absent tenant or remote owner
If the decision-maker cannot attend, agree a documented approval method before work starts. Use a numbered inventory and current photographs, and name the local representative who can provide access and resolve only the questions they are authorised to answer.
Create a hold rule for unexpected documents, valuables, medication, devices and sentimental items. Place them in a secure container and report them; do not treat an emptying instruction as permission to make personal decisions. The remote owner should also confirm what happens to items that cannot be removed in the planned visit.
At completion, send evidence against the agreed room and item list, not just a single photograph of an empty floor. The owner, representative and property contact should understand who receives keys and who remains responsible for cleaning, repairs and handover.
A studio clearance succeeds through decisions, not through speed alone. Protect personal items, establish ownership, inventory every storage point, prepare connected appliances and reserve the building route. Once those controls are fixed, the single-room layout becomes manageable instead of chaotic.
Questions about studio-apartment clearance
Is a studio automatically a small clearance job?
No. Quote the visible inventory and access. A studio may contain several large items, full kitchen and laundry equipment, balcony contents and dense storage even though it has one main room.
Can everything be labelled “remove” in one instruction?
Only after ownership and personal-property checks are complete. Landlord furniture, documents, devices and move stock should be identified separately and protected from the removal load.
Does the clearance crew disconnect appliances?
Do not assume so. Confirm the scope. Plumbing, electrical or gas work may need the appropriate technician before collection, especially for fixed or connected appliances.
Should cleaning happen at the same time?
Plan cleaning after removal so all floors, cabinets and walls can be reached. Treat removal, cleaning and repairs as separate scopes with enough time between them.
What photographs are needed for a quote?
Send wide room views, every large item, counts of packed groups, hidden storage areas and the complete building route. Include dimensions and appliance-connection details where relevant.