A freezer is ready for removal only after the food is out, the ice has thawed, the meltwater is contained and any fixed water connection has been dealt with safely. First confirm that the appliance is yours to remove. Then identify whether it is a chest freezer, upright freezer or the freezer half of a combined fridge-freezer, choose a collection route, and work backwards from the pickup time. Do not switch it off at the last minute and leave a collector with ice, food and water still inside.
Identify exactly what is leaving
“Freezer” can describe several very different appliances. Send a full photograph and say which of these you have before asking for collection.
Upright freezer
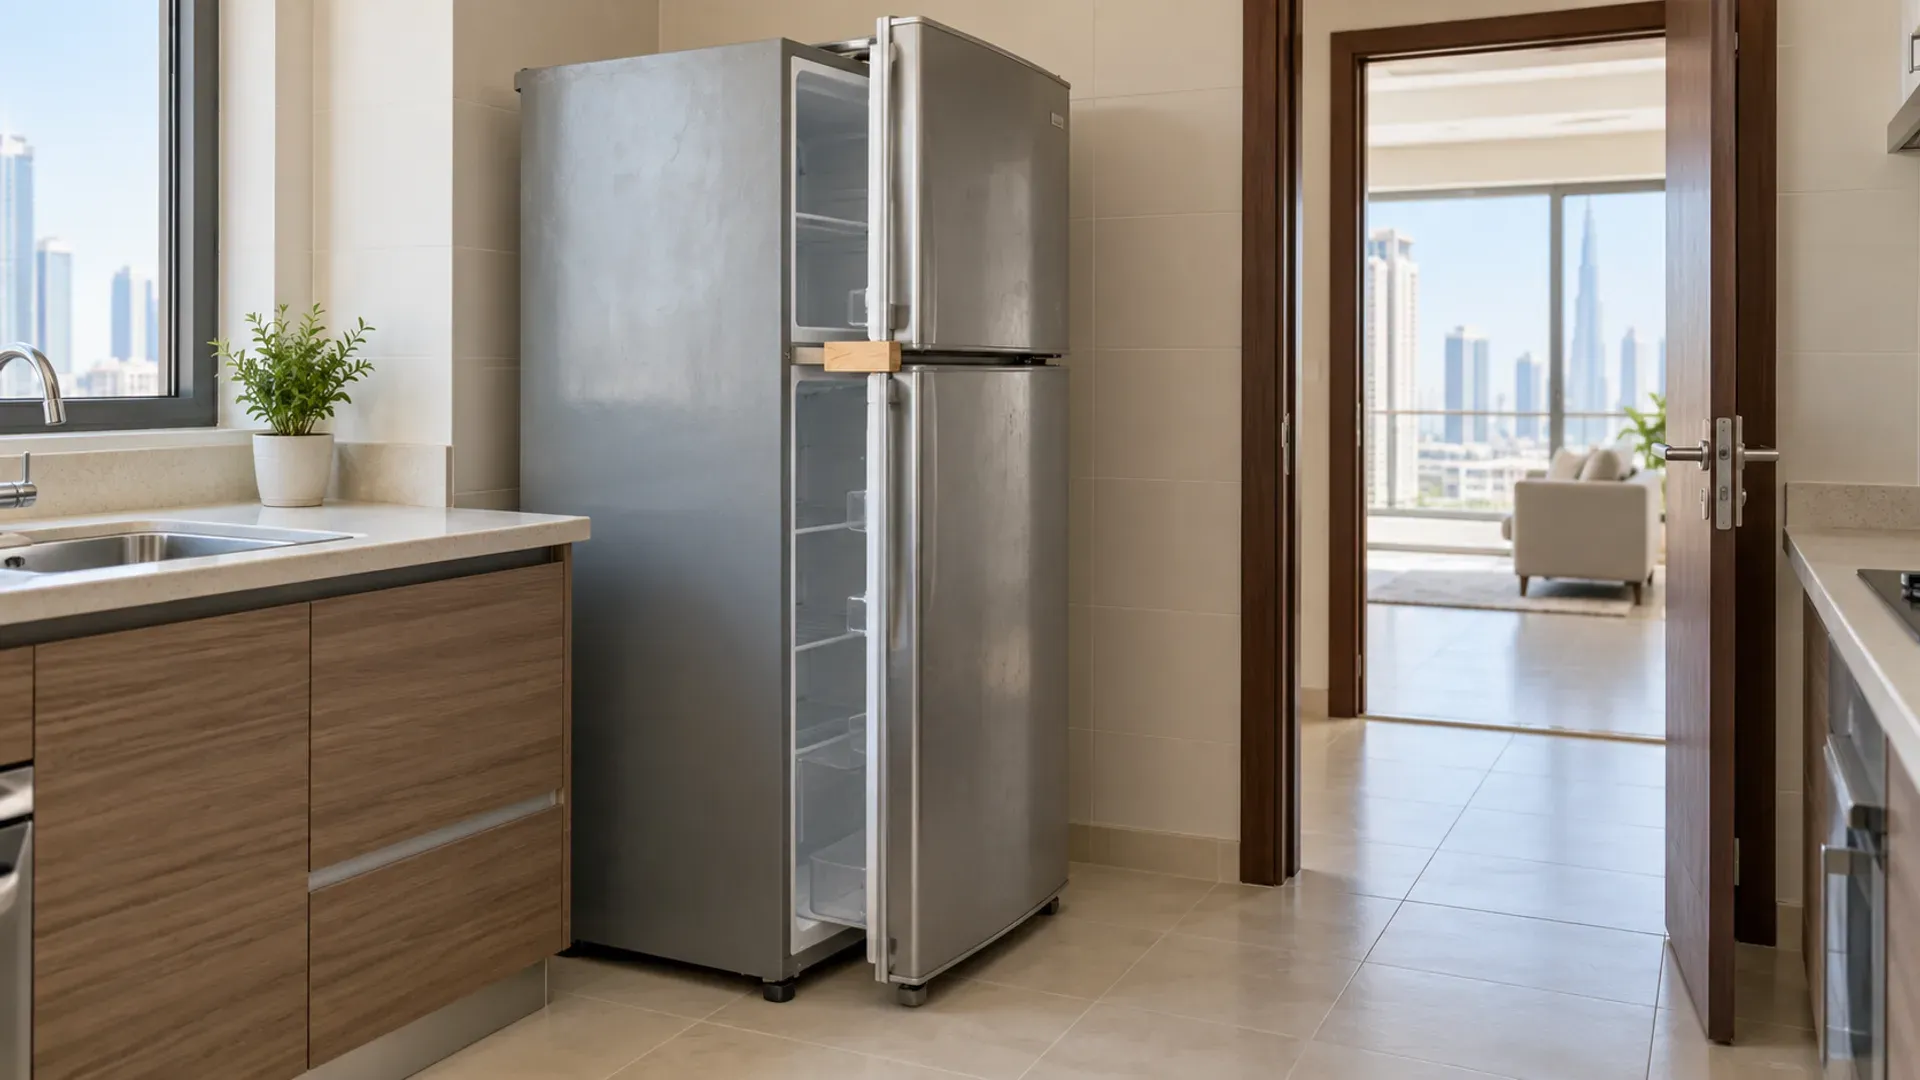
An upright freezer resembles a refrigerator, with shelves or drawers behind a front door. Its height, door swing and top hinge often decide whether it clears a kitchen doorway. Photograph the appliance closed and open, and show any protruding handle or control panel.
Remove every drawer and shelf only after the food is out and the appliance is being prepared. If loose parts will travel with the freezer, secure them inside after everything is dry, or box and label them. A cracked drawer or loose glass shelf should not be left where it can move during carrying.
Chest freezer
A chest freezer is low and wide, with a lid that lifts upwards. Its width can make a narrow doorway or corridor turn more important than its height. It may also hold far more frozen food and ice than expected. Show the full footprint, the lid, the route around it and the nearest doorway.
Do not use the open lid as a handle. Keep children and pets away while the freezer is empty and defrosting, and do not leave a disconnected appliance where someone could climb into it.
Fridge-freezer
If the freezer is permanently combined with a refrigerator, describe and photograph the whole appliance. The two compartments do not leave separately unless the manufacturer designed them as separate modules. Follow the preparation sequence in the fridge disposal guide, including any water or ice-dispenser connection.
Built-in or integrated freezer
An integrated freezer may be fixed to a cabinet door, secured to surrounding units or fitted beneath a worktop. Collection and release from the cabinet are separate questions. Show the hinges, trim and surrounding cabinetry, and ask whether the removal scope includes releasing the appliance. Do not pull it forward by its door or improvise work on fitted units.
Commercial freezers, display cabinets and walk-in cold rooms are outside the scope of a normal household-appliance request. Describe those installations accurately and ask for a specific assessment rather than booking them as a domestic freezer.
Confirm ownership before preparing it
Check the tenancy inventory if the property is furnished or the freezer was present when you moved in. A broken appliance is not automatically yours to discard. Get the landlord’s or owner’s instruction before defrosting and booking removal, particularly where a replacement is being arranged.
If a retailer, insurer or repair company is involved, settle its plan first. A warranty inspection may require the appliance to stay connected or unchanged. A replacement delivery may include old-appliance collection, but only if the written service says so. Confirm who disconnects, who carries out and what condition the freezer must be in.
If you are keeping the freezer and moving it to another property, you need an appliance-moving service and the manufacturer’s transport guidance, not disposal. Tell every provider whether the appliance is unwanted or is meant to work again after the move.
Choose the disposal route before defrosting
Choose a real route and date before emptying a working freezer. That prevents a long gap in which food has nowhere safe to go and the disconnected appliance occupies the kitchen.
A confirmed recipient
A clean, working freezer may be useful to someone else, but “available” is not the same as collected. Confirm that the recipient wants the exact appliance, understands its age and condition, and has agreed who will carry it. Give honest information about faults, seals, missing drawers and unusual noise. Do not pass on an unsafe or untested appliance as working.
Dubai Municipality bulky-waste collection
Dubai Municipality’s services directory lists household appliances and furniture under its bulky-waste service. It describes the service as free, gives a three-working-day service time and excludes investment zones. Check current eligibility, booking instructions and presentation requirements on the official Dubai Municipality services page before relying on it.
The official route may suit an eligible household without a fixed-hour deadline. Confirm whether you must bring the freezer to a particular collection point and keep it inside your property until the instructed time. Do not leave it beside communal bins, in a corridor or on a pavement while waiting.
A paid appliance collection
A paid collection is useful when the freezer must be carried from inside, the building has a booked access window, the address is outside the official service scope or other unwanted appliances are leaving with it. For appliance disposal in Dubai, send photographs of the freezer, its installation and the complete route. Ask what preparation and carrying are included before agreeing a time.
If the freezer is one part of a larger move-out, include it in the same inventory as the furniture and other appliances. One accurate whole-load request is more useful than several overlapping bookings.
Plan the food before switching off
Emptying is usually the longest part of freezer preparation. Start with a written decision for every group of contents: keep, transfer to another freezer, use before the date, or discard through the appropriate household-waste route. Do not expect a removal crew to sort frozen food or accept it inside the appliance.
Check behind drawers and beneath baskets. Small packages can become frozen into ice or hidden at the back. Remove medicines or other temperature-sensitive items first and follow their own storage instructions; this article does not determine whether they remain safe after warming.
Arrange cool boxes or another working freezer before moving food you intend to keep. If there is a power failure, an unknown-length outage or food has partly thawed, use appropriate food-safety advice rather than guessing from appearance. The collection plan begins only after the contents have a safe destination.
Take out loose baskets, trays and ice packs once they are empty. Keep any parts that belong with a reusable appliance together and labelled. Discarded packaging and ordinary household food waste should not be mixed into the appliance collection.
Defrost with enough time for the ice to melt
Use the instructions for the specific make and model. Freezers vary: some are frost-free, some have a drain outlet, and others release meltwater into the bottom of the cabinet. A universal timetable or draining method would be misleading.
Switch off and unplug only when the contents have been removed and the manufacturer’s instructions say to do so. Keep the plug and cable dry. Do not stretch the cable across a walkway or leave it where it can be caught under the appliance.
Open the door or lid as directed and place absorbent towels or shallow containers where meltwater can be controlled. Check them repeatedly. Protect nearby cabinetry and flooring, especially where water could reach skirting, laminate edges or the apartment below. If there is a drain plug, use it only as the manual describes.
Never attack ice with a knife, screwdriver or other sharp tool. Puncturing an internal surface can damage concealed cooling components, and slipping tools can injure the person using them. Do not apply uncontrolled heat, pour boiling water into the cabinet or use an electrical appliance beside meltwater. Time and the model-specific method are the safe plan.
Keep the freezer stable while it defrosts. Do not tip it to pour water out unless the manufacturer’s guidance and the person handling it say that is appropriate. A heavy appliance on a wet floor is harder to control, not easier.
Clean, dry and report any leak
Once the ice has melted, remove the water and wipe the interior using the appliance’s care instructions. Dry the shelves, door seal, corners and drain area. Leave the door or lid ajar while the freezer waits in a safe place so trapped moisture does not create odour.
Distinguish ordinary defrost water from an unexplained oily residue, damaged pipe or continuing leak. Do not touch, clean up or diagnose an unknown substance. Photograph what can be seen safely, keep people away from it and tell the collection provider that the appliance may be damaged. Refrigeration-system work belongs with an appropriate technician.
Broken shelves, cracked liners and loose hinges should also be declared. Remove a loose piece only if it comes away without force, then wrap or box it and state that it belongs to the freezer. Tape should not hide sharp damage from the people carrying it.
Check power and water connections
Most standalone freezers have a plug only. Some fridge-freezers and ice-making models also have a fixed water supply. Show every visible connection in the quote photographs.
Do not reach behind or drag a heavy freezer out merely to inspect a hidden connection. Ask whether the collection includes disconnection or whether an appropriate technician or plumber must prepare it first. If a valve is inaccessible, damaged or will not close, stop and arrange qualified help. A collection deadline is not a reason to cut a hose or improvise plumbing.
After unplugging, coil the cable and secure it to the appliance without damaging it. Protect the plug from water. If the cable is cut, the plug is damaged or the appliance has caused an electrical fault, say so clearly and leave electrical assessment to a competent person.
Measure the freezer and the whole route
Record width, depth and height at the widest points, including handles, hinges and controls. For a chest freezer, measure the long side carefully. For an upright model, check the top hinge and any front handle.
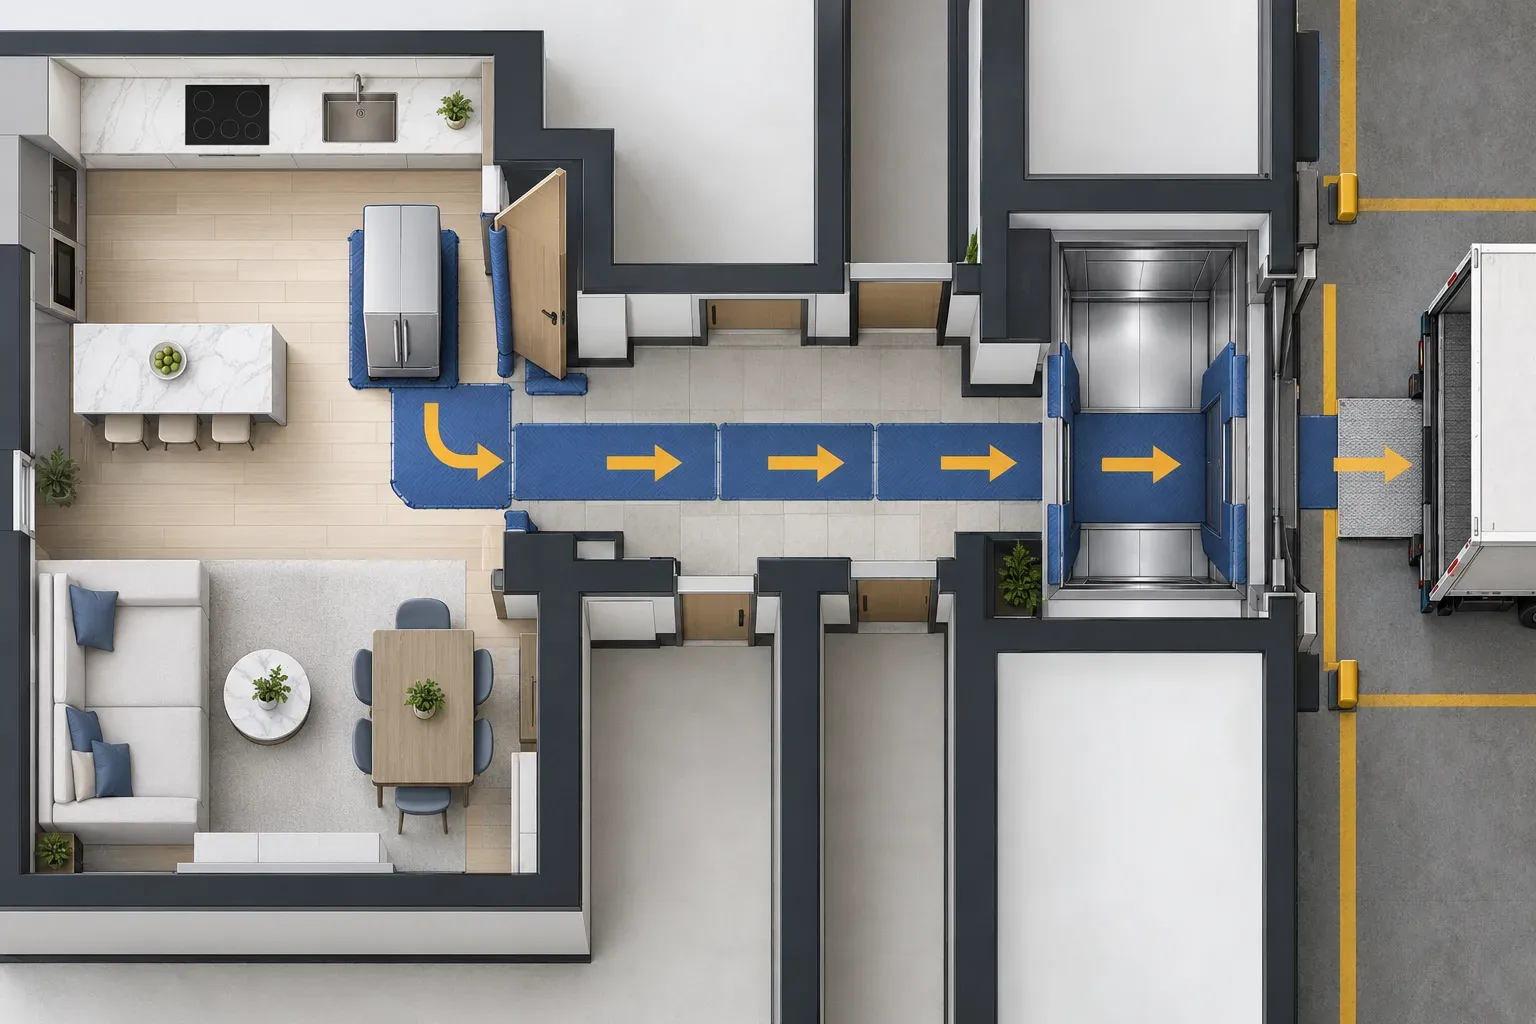
Then measure the route, not just the kitchen doorway:
- The clear opening of the room door.
- The tightest corridor or corner.
- The apartment entrance, including any fixed closer.
- The service-lift door and usable car dimensions where available.
- Stair width, landings and changes of direction.
- Gates, steps and the distance to legal loading access.
Photograph each constraint. A freezer that entered before cabinetry was installed may not leave along the obvious route. Removable doors can sometimes reduce the appliance depth or width, but door removal is model-specific work. Ask who will assess and perform it rather than taking hinges apart in advance.
Do not tilt, drag or slide the freezer across the floor to test the route. It is heavy, has few safe handholds and may still contain water. Let the agreed handler decide the carrying method after seeing the appliance and access.
Arrange tower or villa access
For an apartment, ask management whether appliance removal needs a service-lift booking, move-out notice, protective covering or loading-bay reservation. Rules differ between buildings, so describe the job as one freezer rather than assuming a full-move rule applies. The service-lift booking guide gives a practical list of questions.
For a villa or townhouse, show internal stairs, entrance steps, gates and the parking distance. Clear small belongings from the path and keep children and pets away from the working area. Do not stage the freezer on a shared pavement or outside the property before the collection is ready.
If the access window is fixed, schedule defrosting and any technician visit early enough that the freezer is genuinely empty, dry and disconnected before that window begins. Leave contingency time for ice that takes longer to melt than expected.
Send a complete collection request
Include all of the following in one message:
- A full photo of the freezer and a photo of the interior.
- The type: upright, chest, fridge-freezer or integrated.
- Approximate dimensions and any protruding handle or hinge.
- Whether it is empty, defrosted, dry and unplugged.
- Any water connection, leak, damaged cable or broken part.
- Whether it is freestanding or fixed into cabinetry.
- The floor, lift, stairs, parking and building-booking details.
- Other appliances or furniture leaving in the same load.
- The date or access window by which it must go.
Ask the provider to confirm acceptance, preparation responsibilities, carrying scope and timing. Keep the freezer inside until the agreed route is ready. A complete request makes the job quotable; it does not become a booking until both sides agree the scope and time.
Questions about freezer disposal
How long should I allow a freezer to defrost?
There is no safe universal time because the ice build-up, design and room conditions vary. Follow the model’s instructions and start early enough to contain all meltwater and dry the appliance before collection.
Can a collection crew take a freezer with food inside?
Do not assume so. Remove all food and personal contents before collection and use the appropriate household route for anything you are discarding.
Should I remove the freezer door?
Only if the manufacturer’s instructions and the agreed removal plan call for it. Send route measurements first; do not dismantle hinges simply because a doorway looks tight.
Can I leave the freezer next to the building bins?
No. Keep it inside your property until the official service or paid collector instructs you how and when to present it.