Hedge trimmings are best handled as a finished, bagged or bundled garden-waste load, not as a vague extra left after the gardener finishes. Before collection, confirm who is cutting, keep thorny and woody stems separate from soft leaves, bundle long pieces safely, count the containers and show the route from the hedge to the vehicle.
The reason is practical. Trimmings look light until they are stuffed into bags, where thin stems pierce plastic and wet leaves compress. A useful quote describes what is waiting at the property after the cutting is complete, not the length of the hedge or the number of plants that were pruned.
Settle who cuts and who removes before the work starts
Hedge trimming and waste removal are different scopes. A gardener, landscaping company or maintenance team may include cutting only, cutting plus clearing the immediate area, or cutting plus taking the waste away. Ask which one applies before the shears come out. Removal crews collect the cut material you present; they do not assume that cutting, shaping, tree surgery or irrigation work is included in a collection booking.
Write the arrangement in plain terms and share it with everyone involved. State who trims, who gathers the cuttings, where they will be placed, who carries them to the vehicle and who confirms the site is tidy afterwards. If the villa belongs to a landlord or sits in a managed community, add the name of the person who can approve staging and vehicle access.
The wider landscaping-waste removal guide explains how to keep landscaping work and collection apart. This guide applies that boundary to a narrower case: hedges, shrubs and ornamental screens that produce a mixture of leaves, twigs and stems in one session.
Do not book collection against an unfinished cut
A collection slot arranged before the trimming ends can easily become wrong. The gardener may find dead sections, widen the cut or move to another boundary hedge. Wait for a realistic finish time, then confirm how many bags, bundles or open containers have actually been produced.
If the schedule cannot move, tell the collector that the quantity is an estimate and agree how an update will be handled. Photograph the finished pile as soon as work stops, and send those photographs rather than relying on an earlier description.
Describe the kind of hedge, because it changes the load
“Hedge trimmings” can mean very different material. Soft clippings from a regularly shaped hedge pack differently from stiff stems cut from an overgrown boundary. Thorny shrubs, palm-like leaf bases and long vines each add handling problems that a general description conceals.
Tell the collector what was actually cut. Useful details include:
- Whether the material is mostly leaves, mostly stems or a mixture.
- Whether any stems are thorny, spiny or sharp-edged.
- The approximate length of the longest pieces.
- Whether the trimmings are fresh, wilted or already dry.
- Whether sap, sticky residue or visible pests are present.
- Whether any plant is known to irritate skin.
Do not guess the plant name if it is unknown. Say what can be seen and send a clear photograph. If the gardener knows that a particular shrub causes irritation, that information should travel with the load. It helps the crew choose gloves and handle the bags carefully without turning the quote into a botanical identification exercise.
Treat sharp material as a safety issue
Spiny or thorny clippings can pierce bags, gloves and sleeves. Do not push them down by hand. Place them in strong containers, face cut ends inwards where possible and avoid overfilling. A rigid tub or heavy-duty sack is generally more helpful than a thin bag that tears when it is lifted.
When the material cannot be contained safely, keep it as a labelled separate group. Tell the collector what it is rather than hiding it inside a soft pile of leaves. A visible warning is more useful than an unpleasant surprise during loading.
Separate light clippings from woody stems
Soft clippings and woody stems should not be mixed simply because they came from the same hedge. Leaves and tips can be bagged. Stiffer pieces need bundling and a measured length. Mixing them makes a heavy, awkward bag that is difficult to carry and difficult for the collector to assess.
A simple three-group system works well:
1. Soft leaves and fine tips in sound bags or containers. 2. Woody stems bundled so the ends are controlled. 3. Sharp, thorny or unknown pieces kept apart and clearly described.
Keep each group visible when you photograph it. The collector can then see that the soft material is not hiding a bundle of thick stems, and the property contact can see exactly what they approved. If a section is mixed and cannot be separated, say so honestly.
For larger cut branches, use the tree-branch removal guide to record the longest pieces and the route. Branches that have outgrown the hedge category should be treated as branch material with their own dimensions rather than squeezed into a bag count.
Bundle long stems without creating a rigid hazard
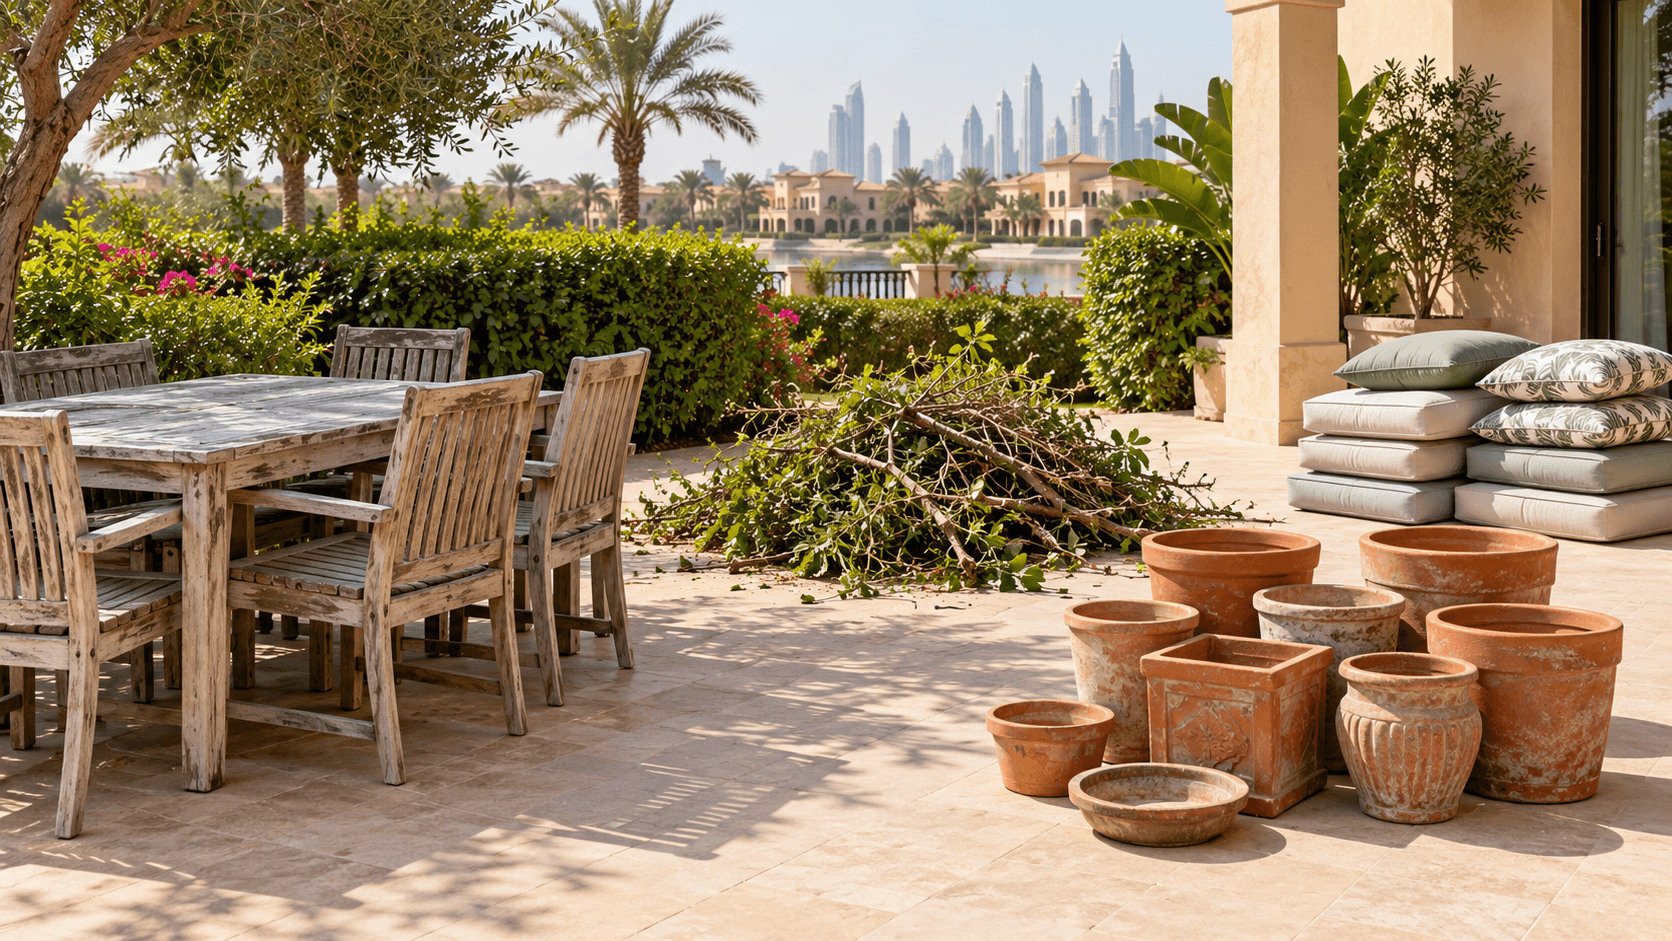
Tie long stems in manageable bundles using a method that can be handled safely. A bundle should be short enough to turn through the gate and light enough for the person lifting it. Do not create a dense bundle that nobody can move without risking injury.
Measure the longest piece and state whether it can be cut shorter before collection. That cutting is part of the garden work, not an unscheduled task for the removal crew. If the gardener has already left, mention that the stems cannot be shortened and describe the route they must follow.
Keep the hedge load free of things that do not belong
Trimming a boundary often uncovers material that has been hiding inside the plants. Wire ties, plastic netting, irrigation line, broken fence sections, litter and old lighting cable can all be found inside a hedge. Remove these items from the garden-waste groups and describe them separately.
Do not include the following in the clippings count:
- Soil, sand, stones or pot contents.
- Fertiliser, pesticide, herbicide or other garden chemicals.
- Plastic pots, trays and nursery sleeves.
- Irrigation pipe, emitters, wire and metal fixings.
- Fence panels, trellis and other timber structures.
- Household rubbish, food waste and pet waste.
- Glass, broken ceramic and unidentified items.
This separation is not a promise about where each group will go afterwards. It keeps the garden-waste description honest and allows the collector to check which materials are accepted. If a hedge has been treated with chemicals, tell the collector what is known and ask what they need. Do not put containers or sprayers in a bag of clippings simply to clear the area quickly.
Soil, sand and pots have their own weight and presentation issues. The soil, sand and pots guide explains why they should not share bags with leaves and cuttings.
Count bags and bundles instead of describing the hedge length
Hedge length is a poor unit for removal. A short, neglected hedge can produce more waste than a long, neatly clipped one. Quote the finished load: the number of bags, the size of rigid containers, the number and length of stem bundles, and the space occupied by anything that cannot be contained.
Take two types of photograph. A wide view shows the whole staged group and its position relative to the gate or path. A closer view shows one open bag or bundle so the collector can recognise the material. If one container is unusually heavy, wet or sharp, photograph it separately instead of placing it behind a cleaner group.
Do not report a weight unless you actually measured it. The collector can assess volume, condition and handling from clear images, while you can describe whether the person staging the material was able to move each container alone.
Recount after all garden work is finished
Raking, edging and a second pass with the trimmer can change the quantity. Freeze the scope only once the gardening tasks are finished. Add any extra material as a new line in the inventory rather than silently expanding an old bag.
On a large property, decide whether each hedge area will have its own staging point. Consolidating everything can save time, but it may also hide where particular material came from. Label groups by location if the property contact will need to reconcile them later.
Control moisture and leaks
Fresh cuttings can hold sap and surface water. Wet leaves become heavy, and leaking bags can stain paving, damage interior floors or make a shared route slippery. Do not wash trimmings to make them look cleaner, and do not seal visibly wet material in a thin bag that will tear.
Use containers that can hold the load while it is waiting. Keep them upright, away from doors and out of areas where people need to walk. If a bag starts to leak, place it inside a sound secondary container and wipe the surface rather than dragging it along the route.
Avoid long storage. Hedge cuttings can settle and become unpleasant to handle, and the first photographs may no longer describe the load. Coordinate the trimming and collection dates so the material spends as little time as practical at the staging point. If the timing slips, inspect the containers again and send fresh images.
Plan the carry from hedge to vehicle
A hedge may be at the back of a villa, behind a side gate or along a boundary with only a narrow service path. Trace the whole route from the cutting area to the place where the vehicle can actually stop. Note steps, soft ground, irrigation lines, low branches, tight corners and gates that must remain secured.
Clear hoses, tools, pots and movable furniture from the path. Protect plants that are being kept and avoid dragging bags across lawns or planting beds. If the route passes through an interior area, the property contact should approve it before the day and prepare floor protection where needed.
Confirm the vehicle position with the community or property manager. Gated communities may restrict where and when a collection vehicle can wait. A photograph of the gate, path and staging point is often more useful than a long description. Do not place bags on a roadside, communal bin area or neighbouring land in the hope that someone will collect them.
Stage the load in an authorised place
Choose a staging point that is inside the property or has been approved in writing by the responsible manager. It should not block emergency access, shared walkways or a neighbour's entrance. Keep it close enough to the vehicle route that the crew is not forced to carry heavy containers an avoidable distance.
If the community has a designated garden-waste arrangement, verify its rules directly. Do not assume a private trimming job can use a communal point simply because green material is visible there.
Prepare a request the collector can check
Send one complete message rather than adding details across several short notes. Include:
- The property type and the name of the authorised contact.
- The date the trimming was or will be completed.
- The number and size of bags, tubs or bundles.
- Separate counts for leaves, woody stems and sharp material.
- The approximate length of the longest stems.
- Whether the cuttings are fresh, wet, dry or leaking.
- Any soil, pots, wire, irrigation material or other additions.
- The route, steps, gates and surfaces between the hedge and vehicle.
- The approved vehicle position and access window.
- Whether the gardener will be present at handoff.
Send that information to the garden waste removal service, and ask what is accepted, whether the quote includes carrying from the hedge and what must remain separate. A request built around the finished load is easier to compare than one built around the plants that were cut.
Keep trimming and collection responsibilities distinct
Do not ask the collector to finish, reshape or repair a hedge that has been cut badly. That is a landscaping decision with its own responsibility. If sections remain untrimmed, complete that work first or leave those plants out of the removal quote.
On the day, nominate one person who can approve the load and answer questions. Walk the groups with the collector before loading. Point out any bag added after the quotation, any container that stays on site and any item that is not garden waste.
Check the site after removal
Once the load has gone, reconcile the bags and bundles against the list you prepared. Inspect the staging point, route and boundary line for loose leaves, thorns, stems, wire or liquid. Make sure gates are secured and retained tools or containers were not taken by mistake.
Collection removes the agreed material. It does not certify the quality of the trimming, repair damaged plants or promise a particular destination for the cuttings. Do not describe the trimmings as composted or recycled unless the responsible receiver has confirmed that outcome. Keep any documentation actually supplied and describe the process honestly.
Decide whether the hedge will generate repeat loads
A hedge that is trimmed regularly may generate predictable waste. Record the real bag and bundle count from this job, then compare it with the next cut. That evidence is more useful than a guess based on hedge length, and it may show whether trimming and collection should be scheduled together.
If a property has an existing garden-waste arrangement, ask the landlord, facilities contact, community manager or gardening provider what it includes. A one-off collection is helpful when that arrangement does not cover the quantity or when a controlled carry-out is needed. It should still be quoted from the visible, finished load.
A clean hedge-trimming collection depends on a few disciplined steps. Finish the work, separate the stems from the leaves, remove material that does not belong, count the containers and describe the route. Those steps give the collector real information to quote and keep an ordinary gardening job from turning into an undefined mixed load.
Questions about hedge trimming waste
Does hedge trimming waste removal include cutting the hedge?
Do not assume it does. Collection starts with material that has already been cut and presented for removal. If you also need trimming, shaping or pruning, ask the gardening or landscaping provider to quote that work separately.
Can leaves and woody stems go in the same bag?
Keep them separate for assessment. Stiff stems can pierce thin bags and make a load heavy and awkward to carry. Bag soft clippings and bundle woody pieces, then tell the collector which groups can be collected together.
What should be done with thorny cuttings?
Describe them clearly, keep them apart from soft leaves and place them in a strong container. Do not push them down with your hands or hide them in an ordinary bag. The crew should know about sharp material before arrival.
How should I describe the amount of trimmings?
Count the finished bags, tubs and bundles, then add photographs and the approximate length of the longest stems. That is more reliable than hedge length or the number of plants cut.
Should wet trimmings be left to dry?
Let obvious surface water drain in a controlled place, but do not leave a leaking pile in a shared route. Tell the collector if the material is fresh, damp or compacted, and send current photographs if there is a delay between cutting and pickup.